Amazon Web Services
In the following walkthrough we will go over:
- Signing up for an AWS account
- Adding Multi-factor Authentication (MFA) to the Root User account
- Enabling billing options
- Configuring single sign-on for organization
Create your AWS account
Creating an account on Amazon Web Services (AWS) involves a few straightforward steps.
-
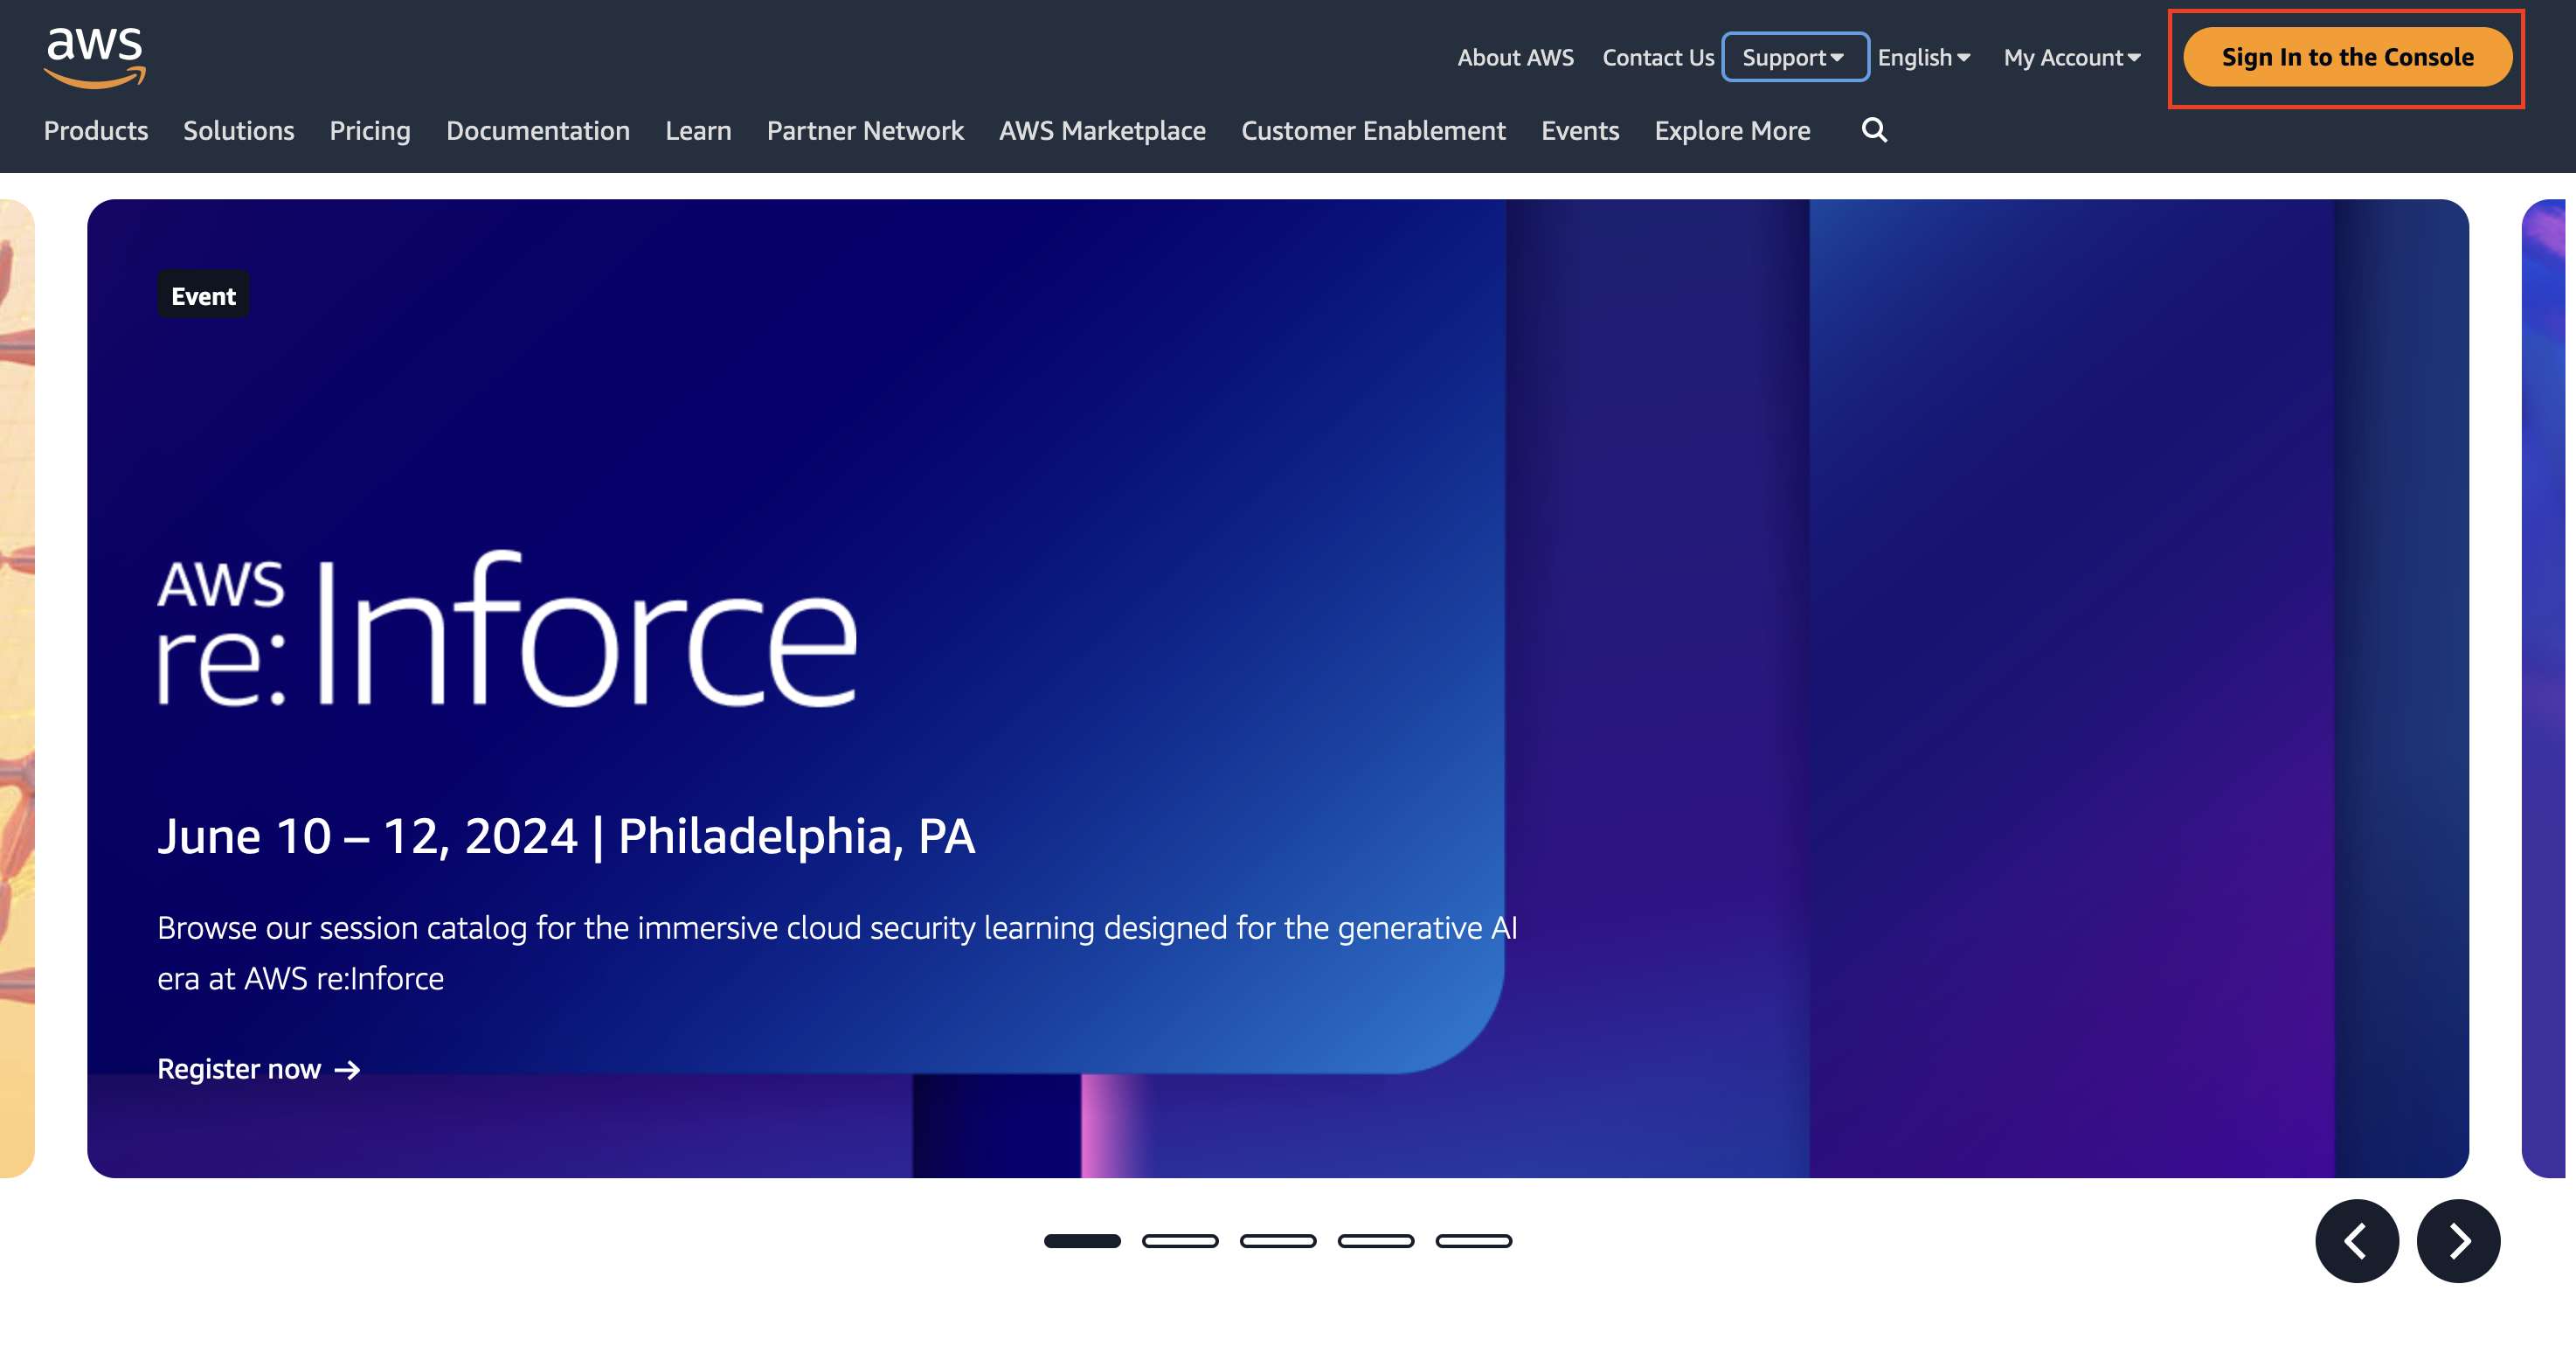
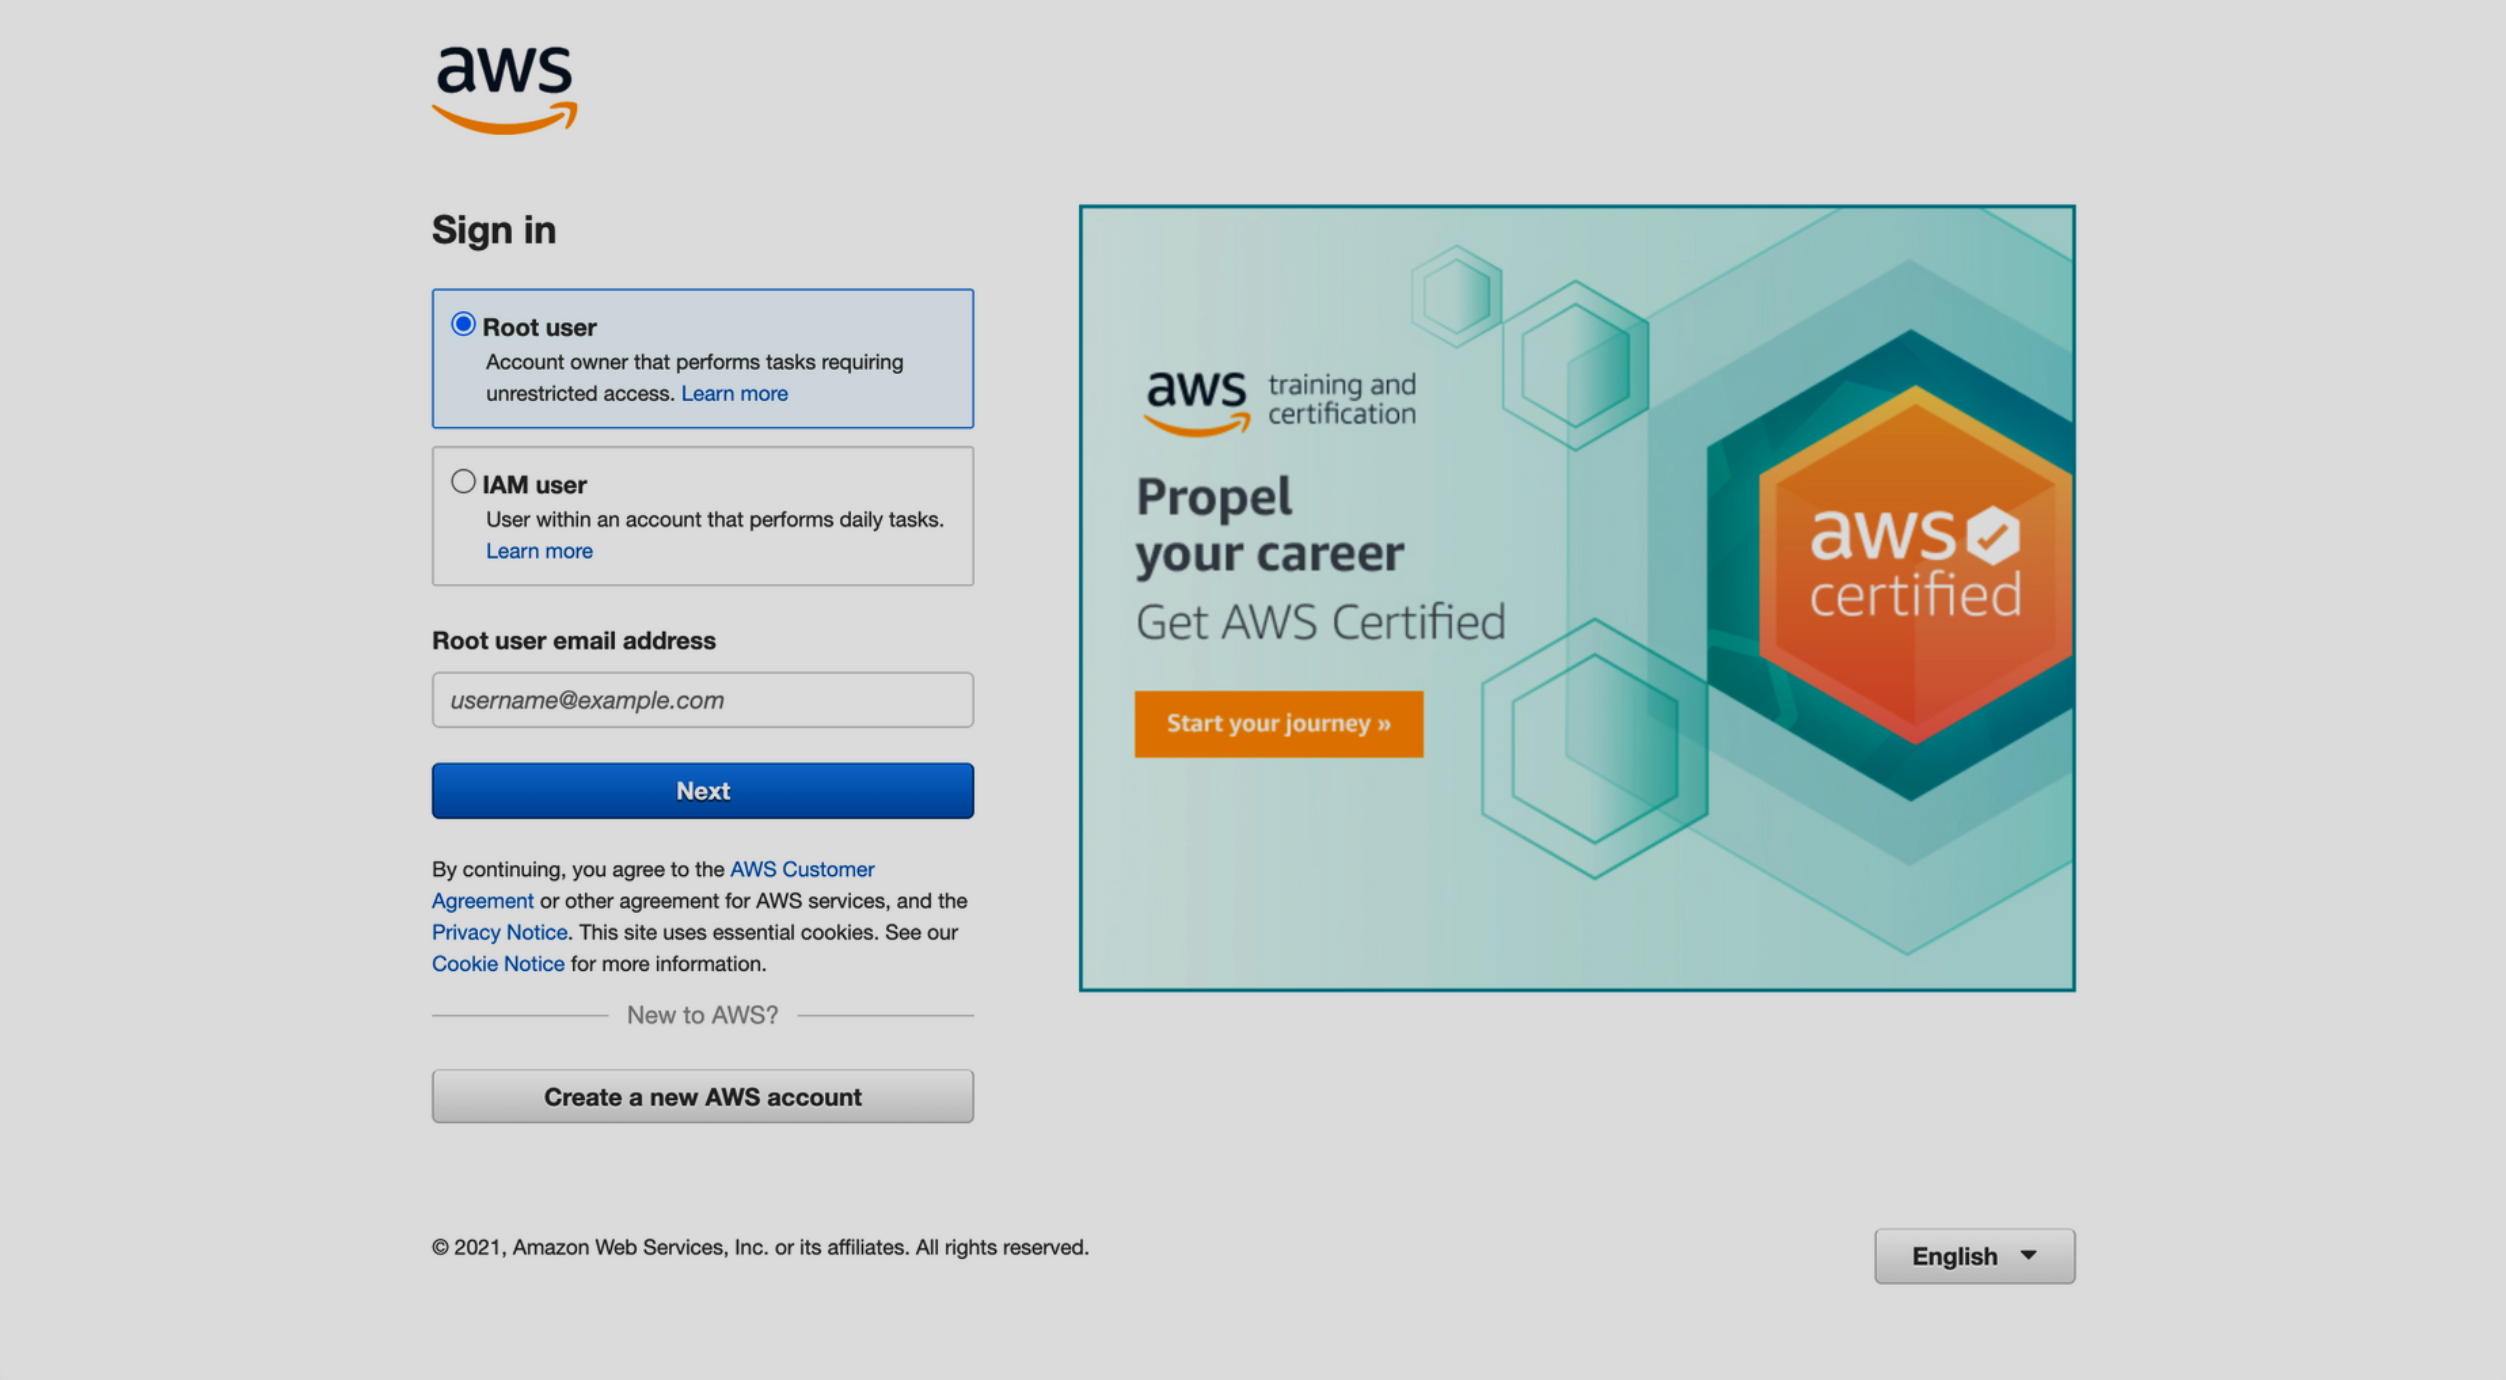
Open your web browser and go to the AWS website
-
Click orange button "Sign In to the Console"
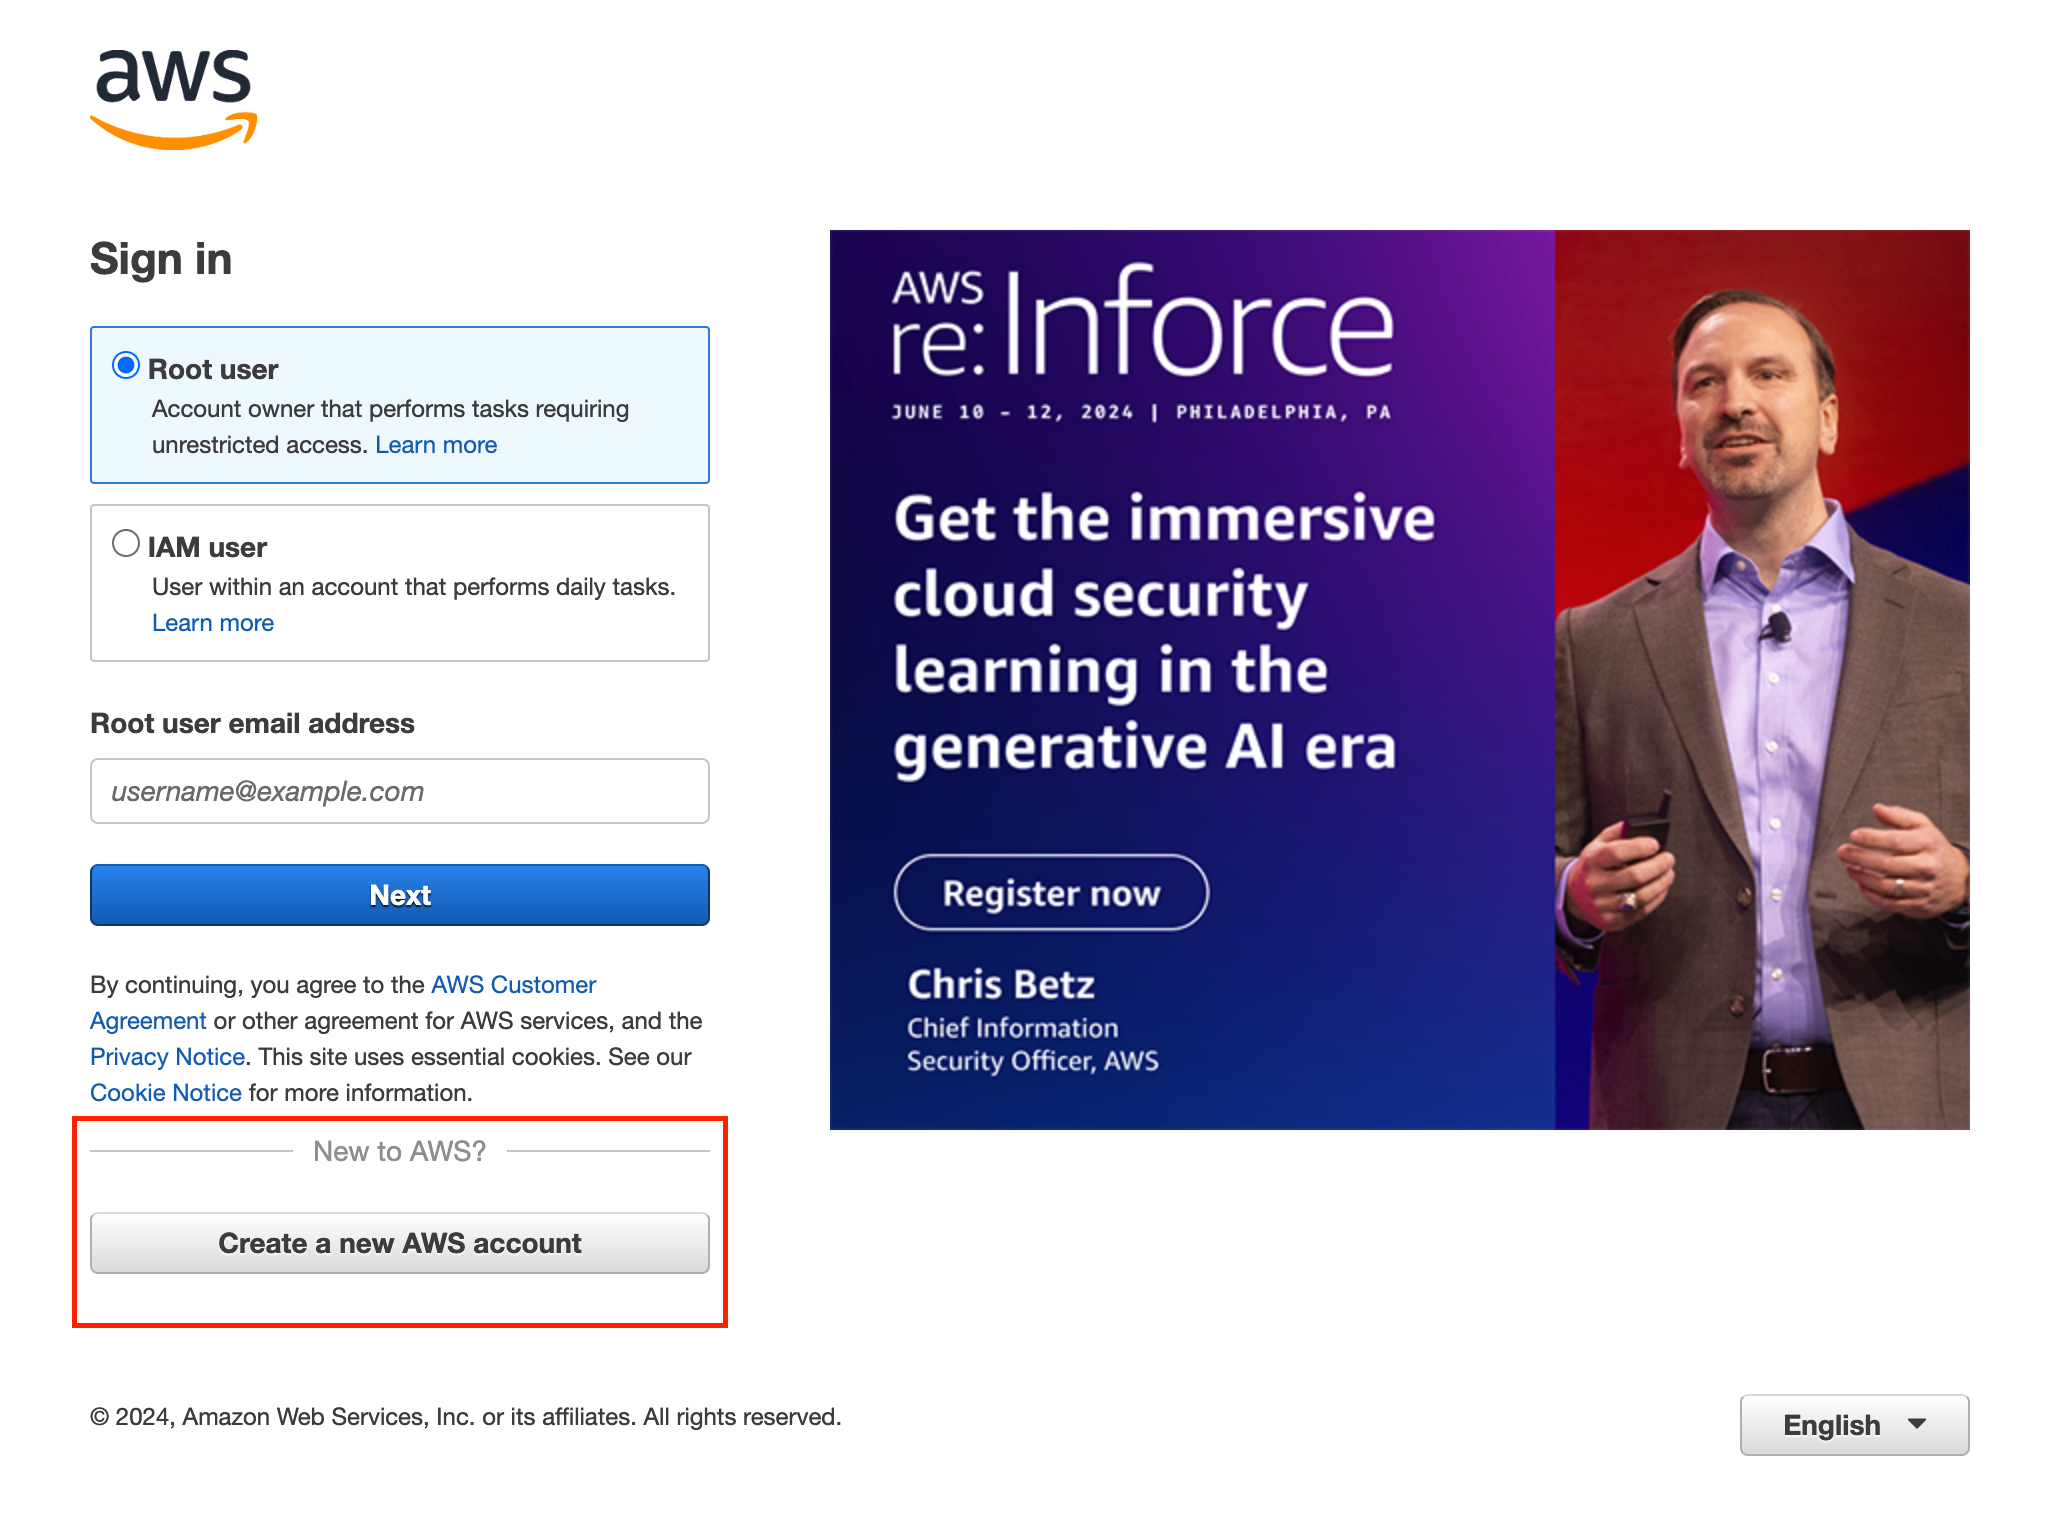
- Click on "Create a new AWS account"
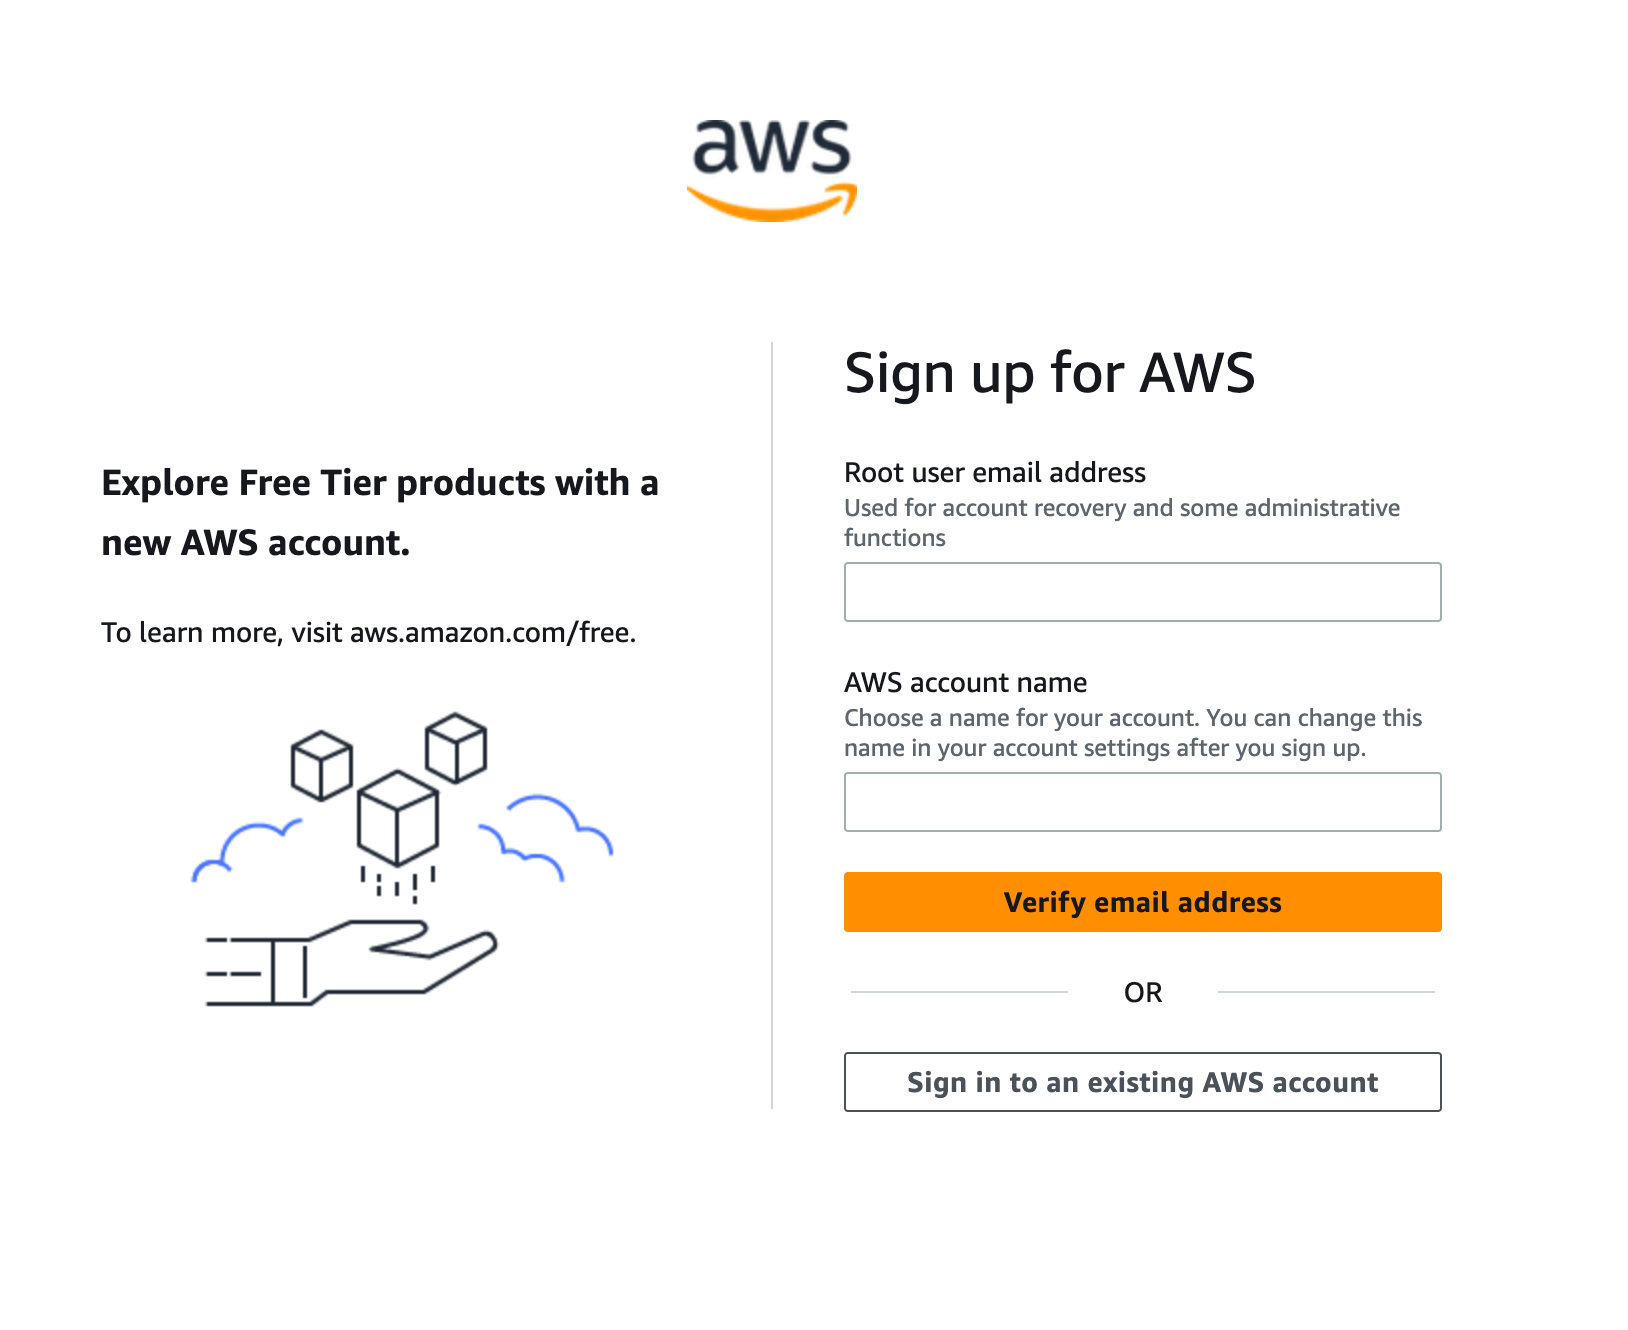
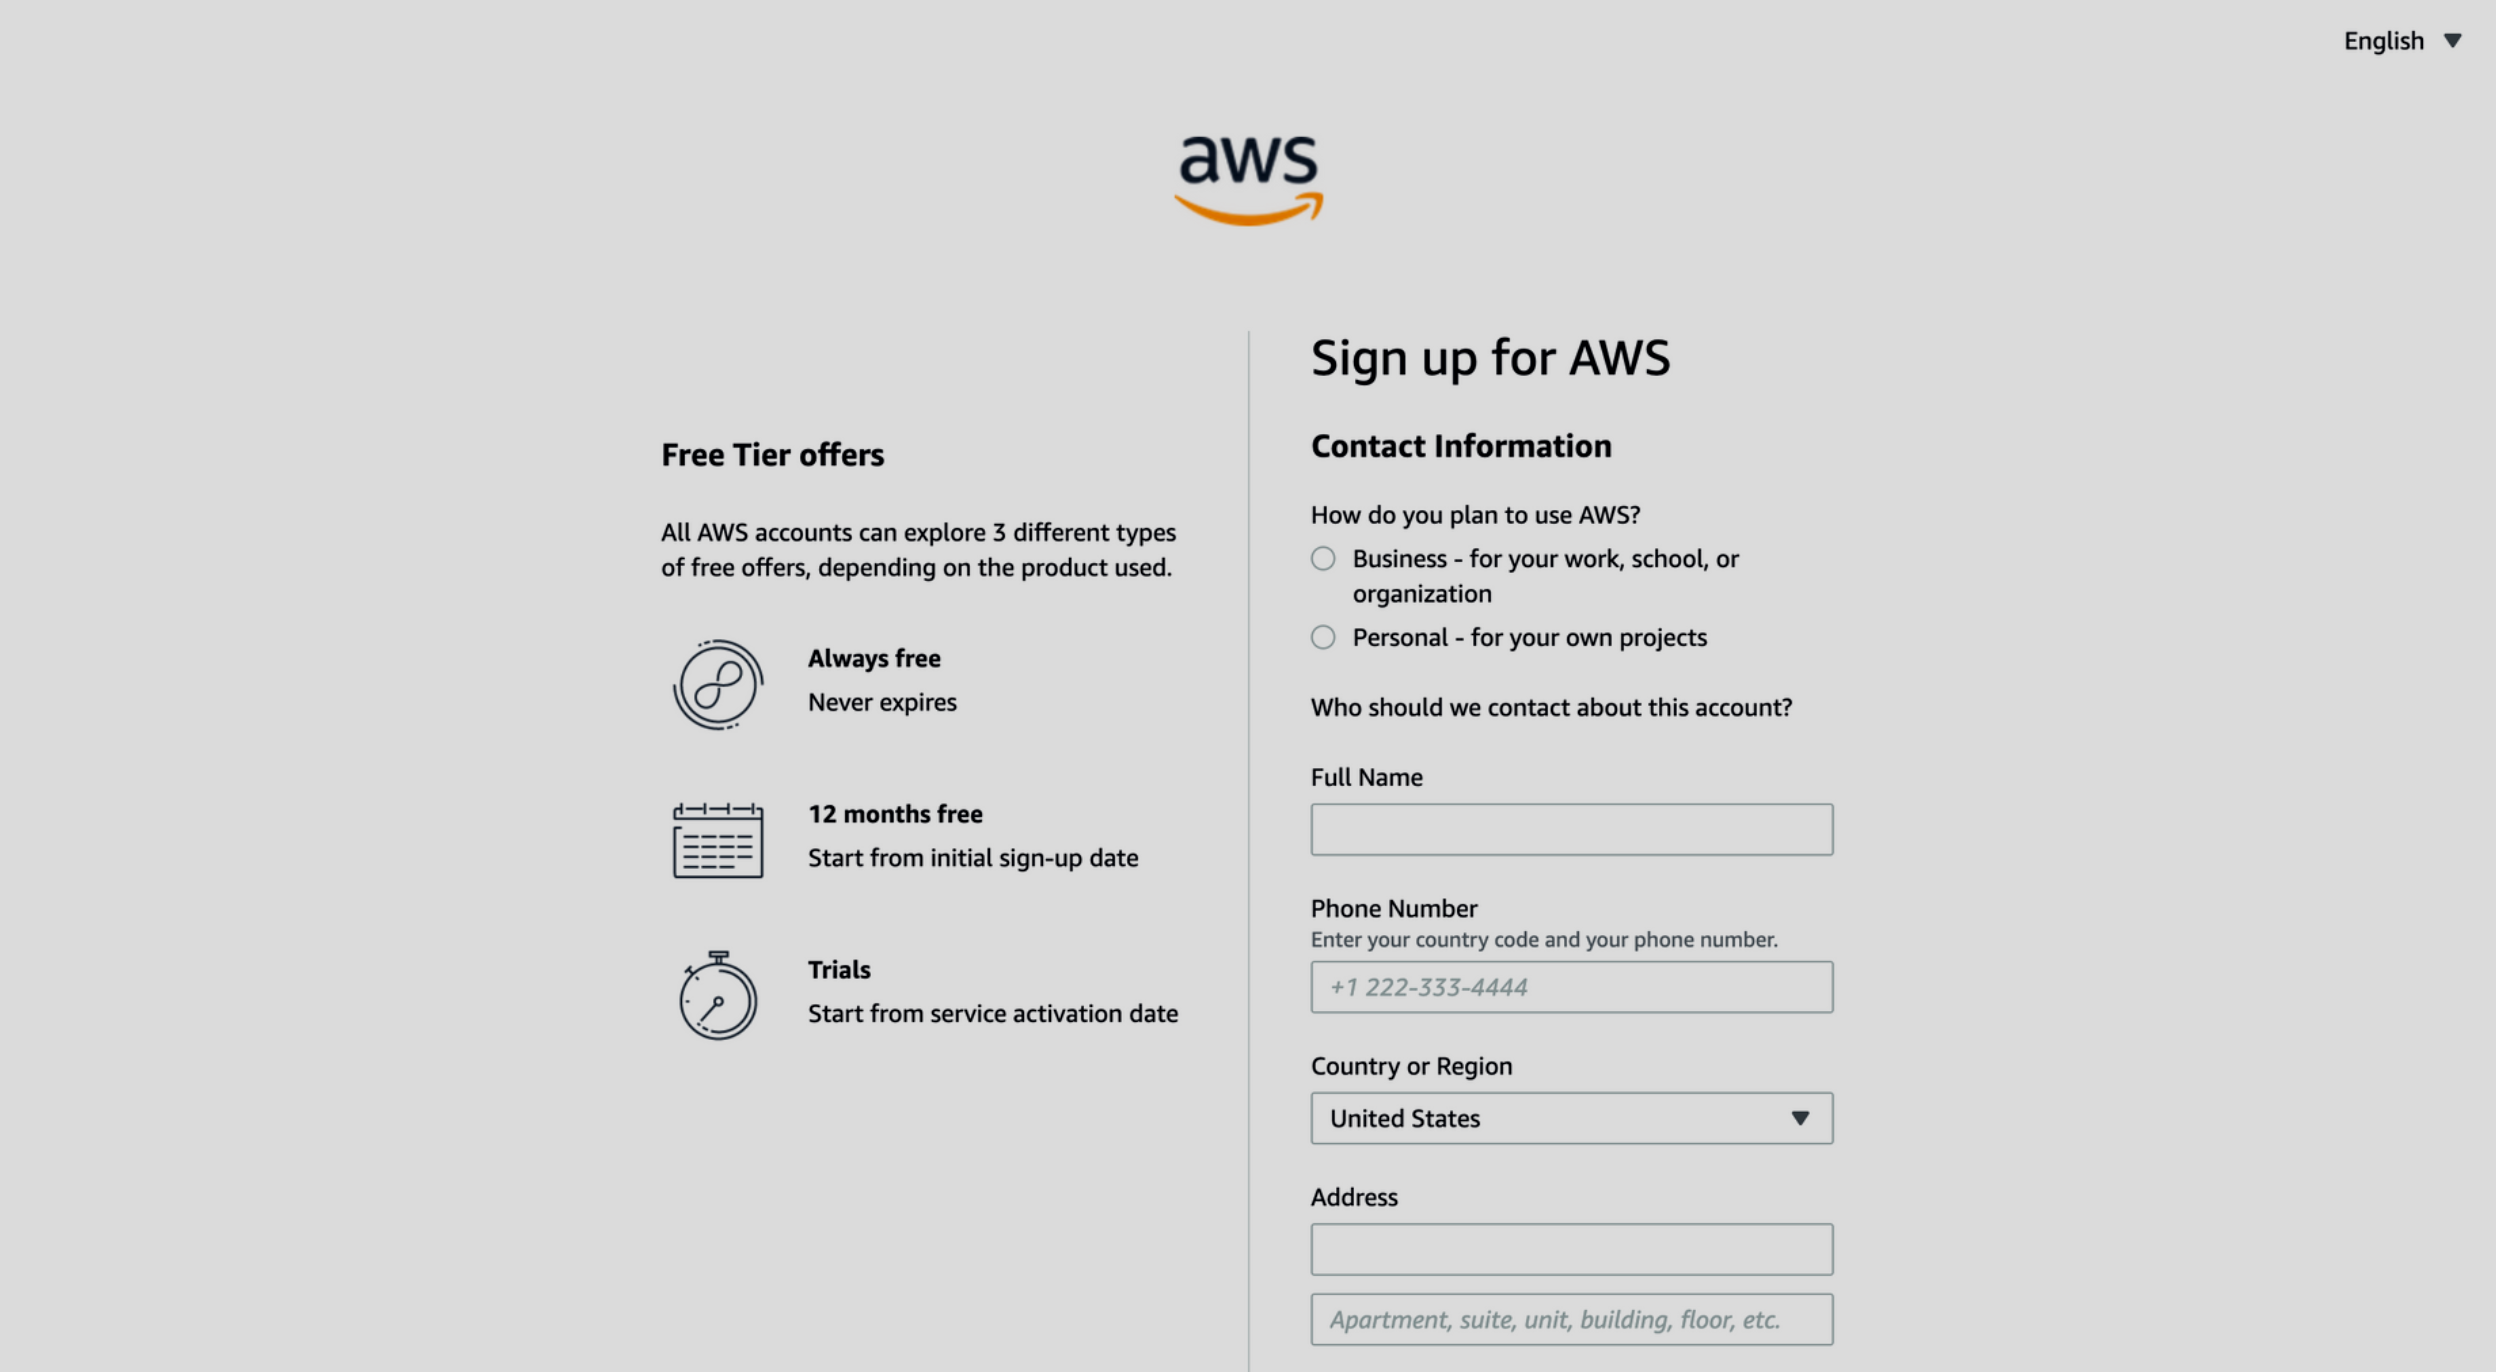
- Fill out the prompted fields
Root User account
The email address and password you enter here will be used as your Root User account so make sure you choose a secure password and don't loose these credentials.
- Fill out your contact information and click "Continue"
Billing Information
You will not be charged at this point but this is the card that will be charged if you accrue any charges while using AWS resources.
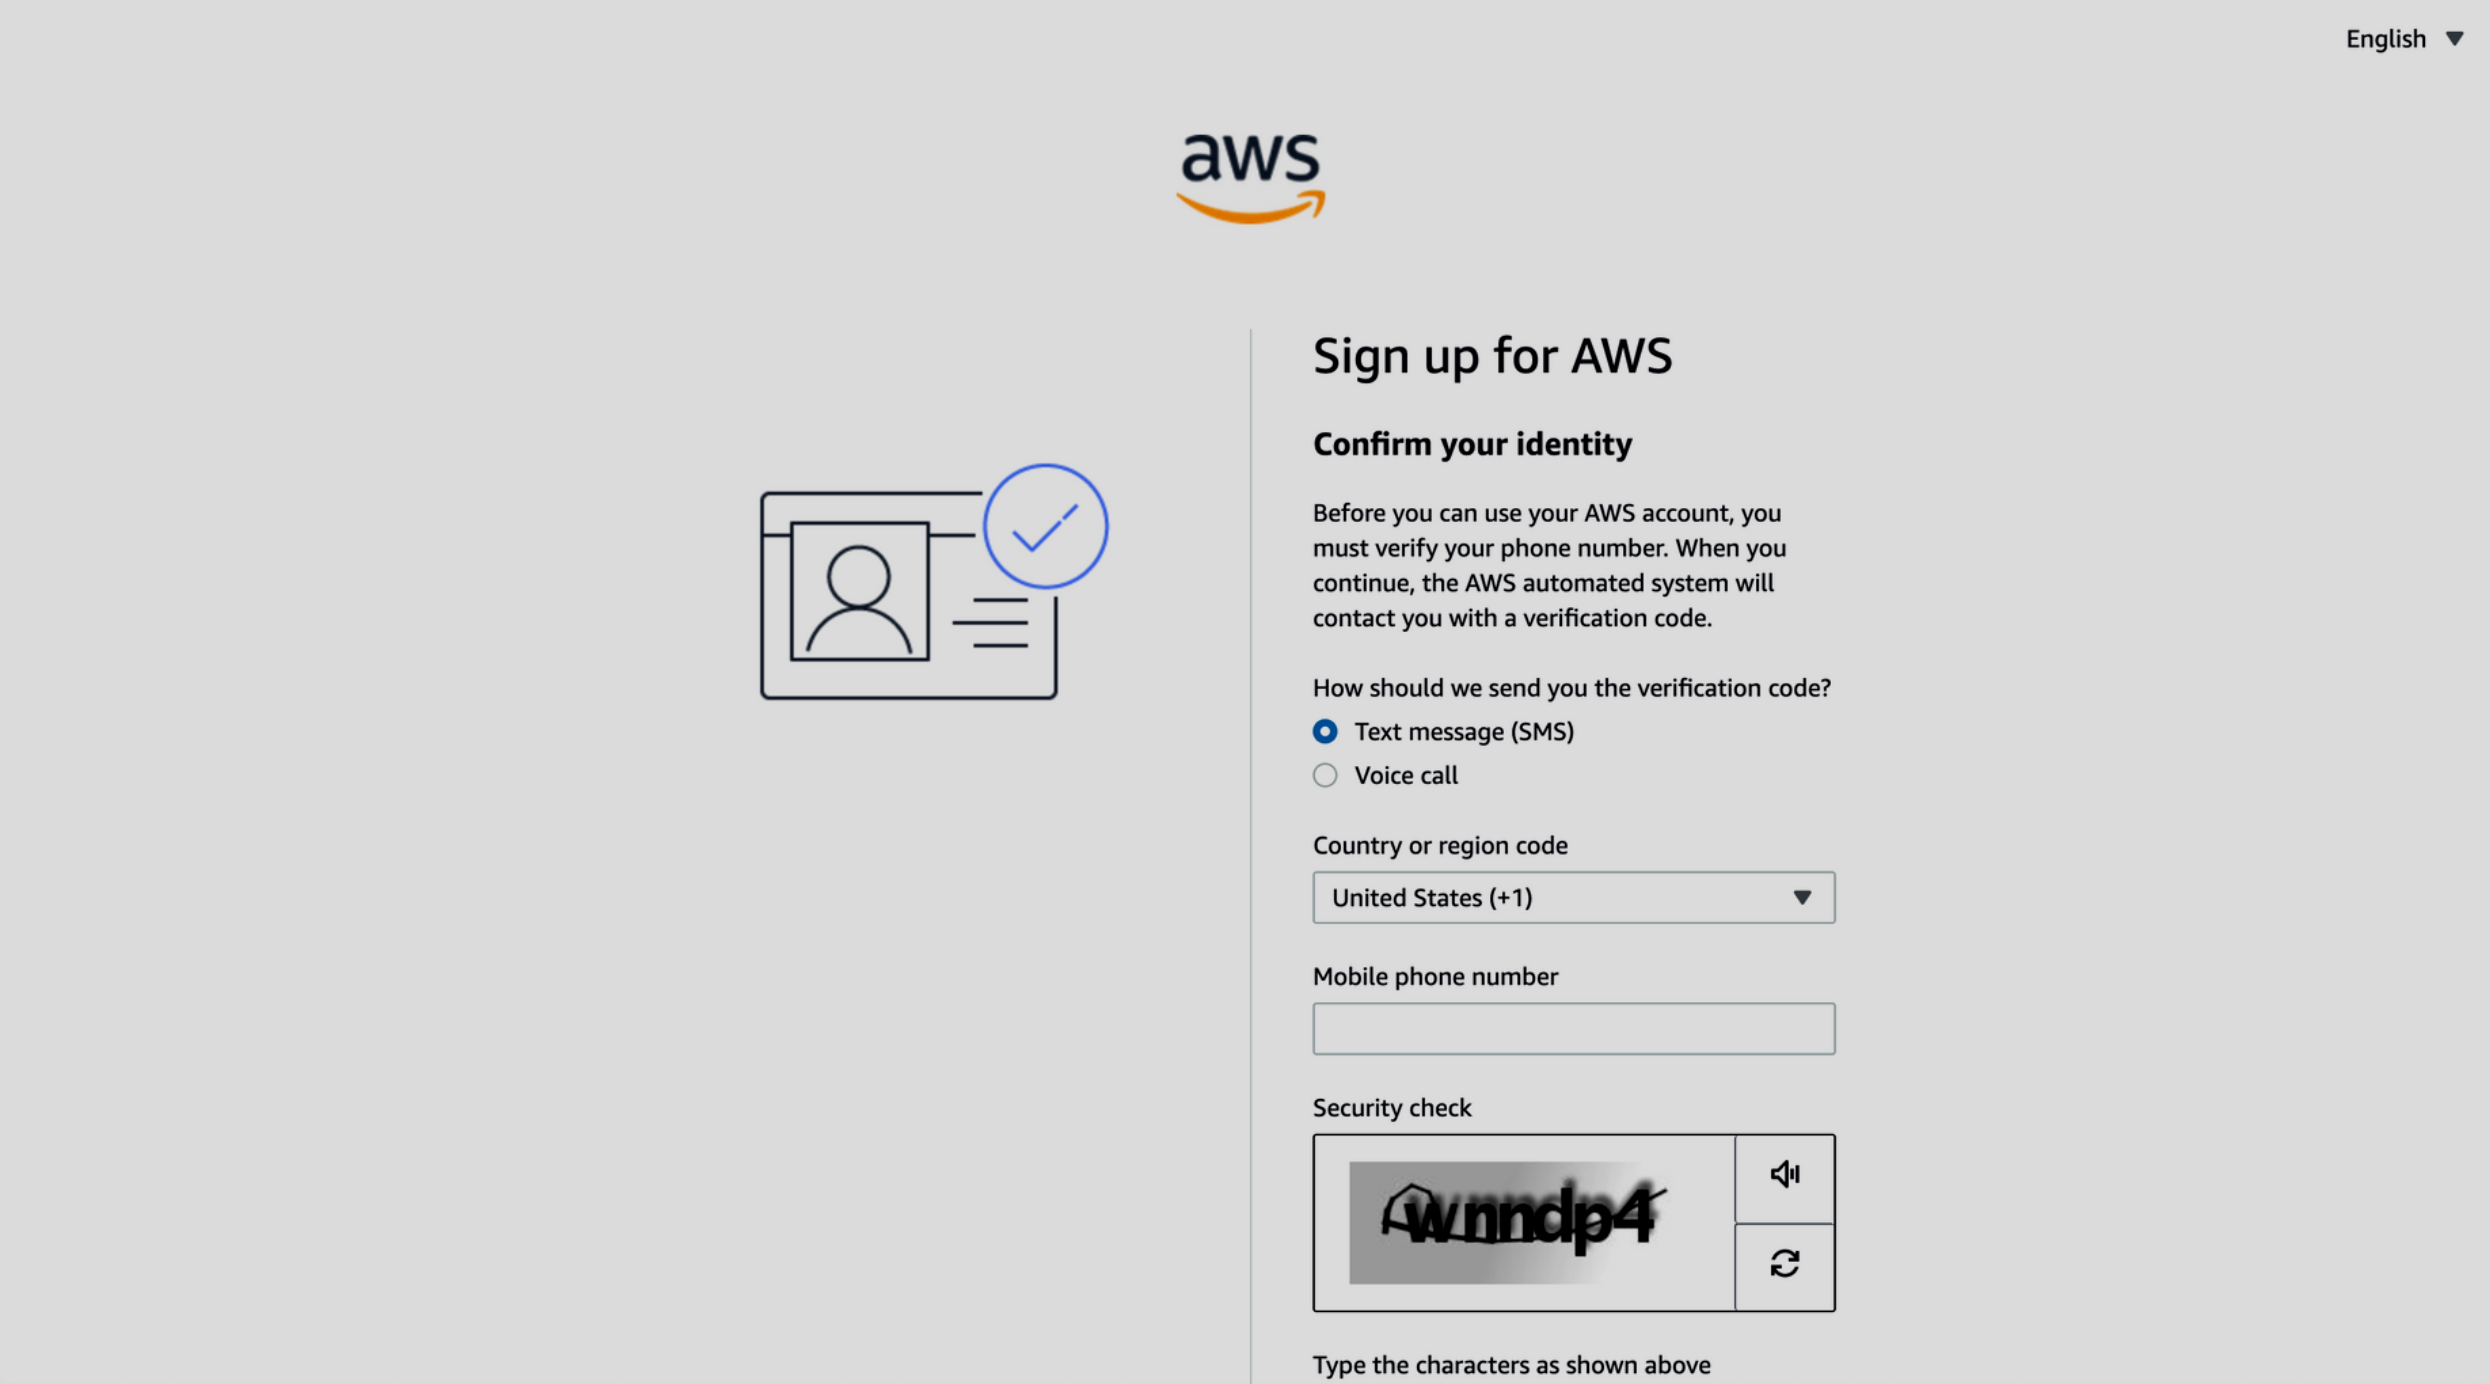
- Confirm your identity via text message or phone call
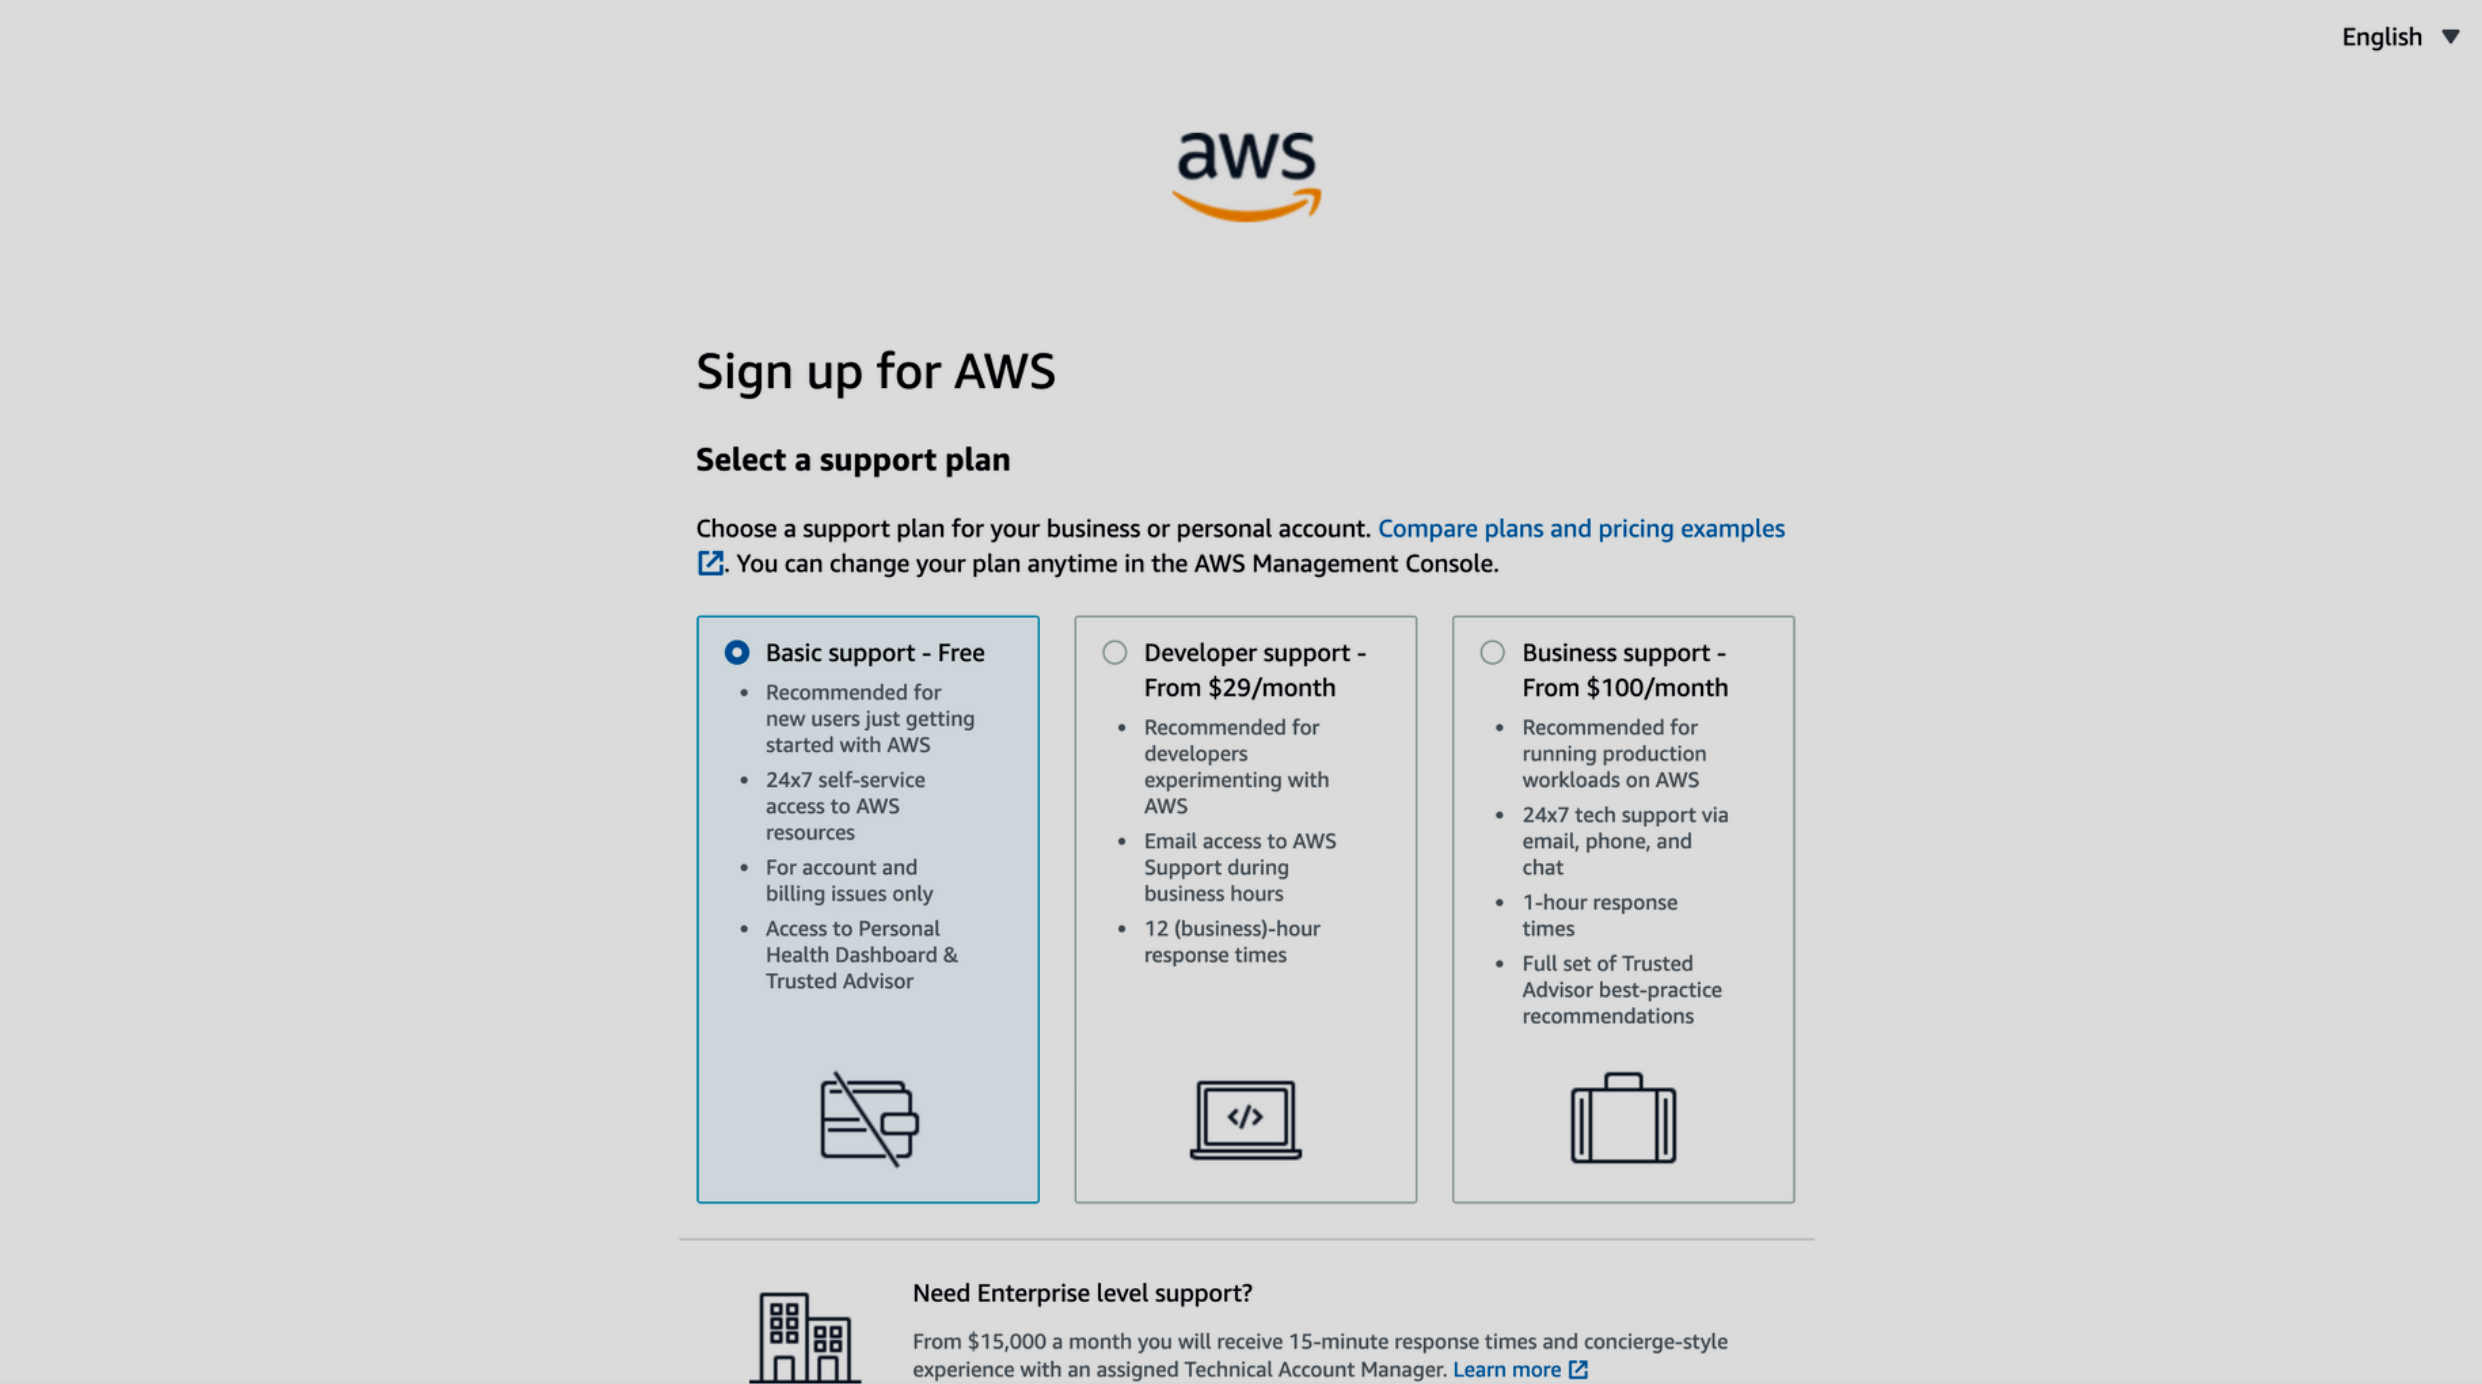
- AWS offers different support plans, including Basic, Developer, Business, and Enterprise. Choose the Basic (free) plan.
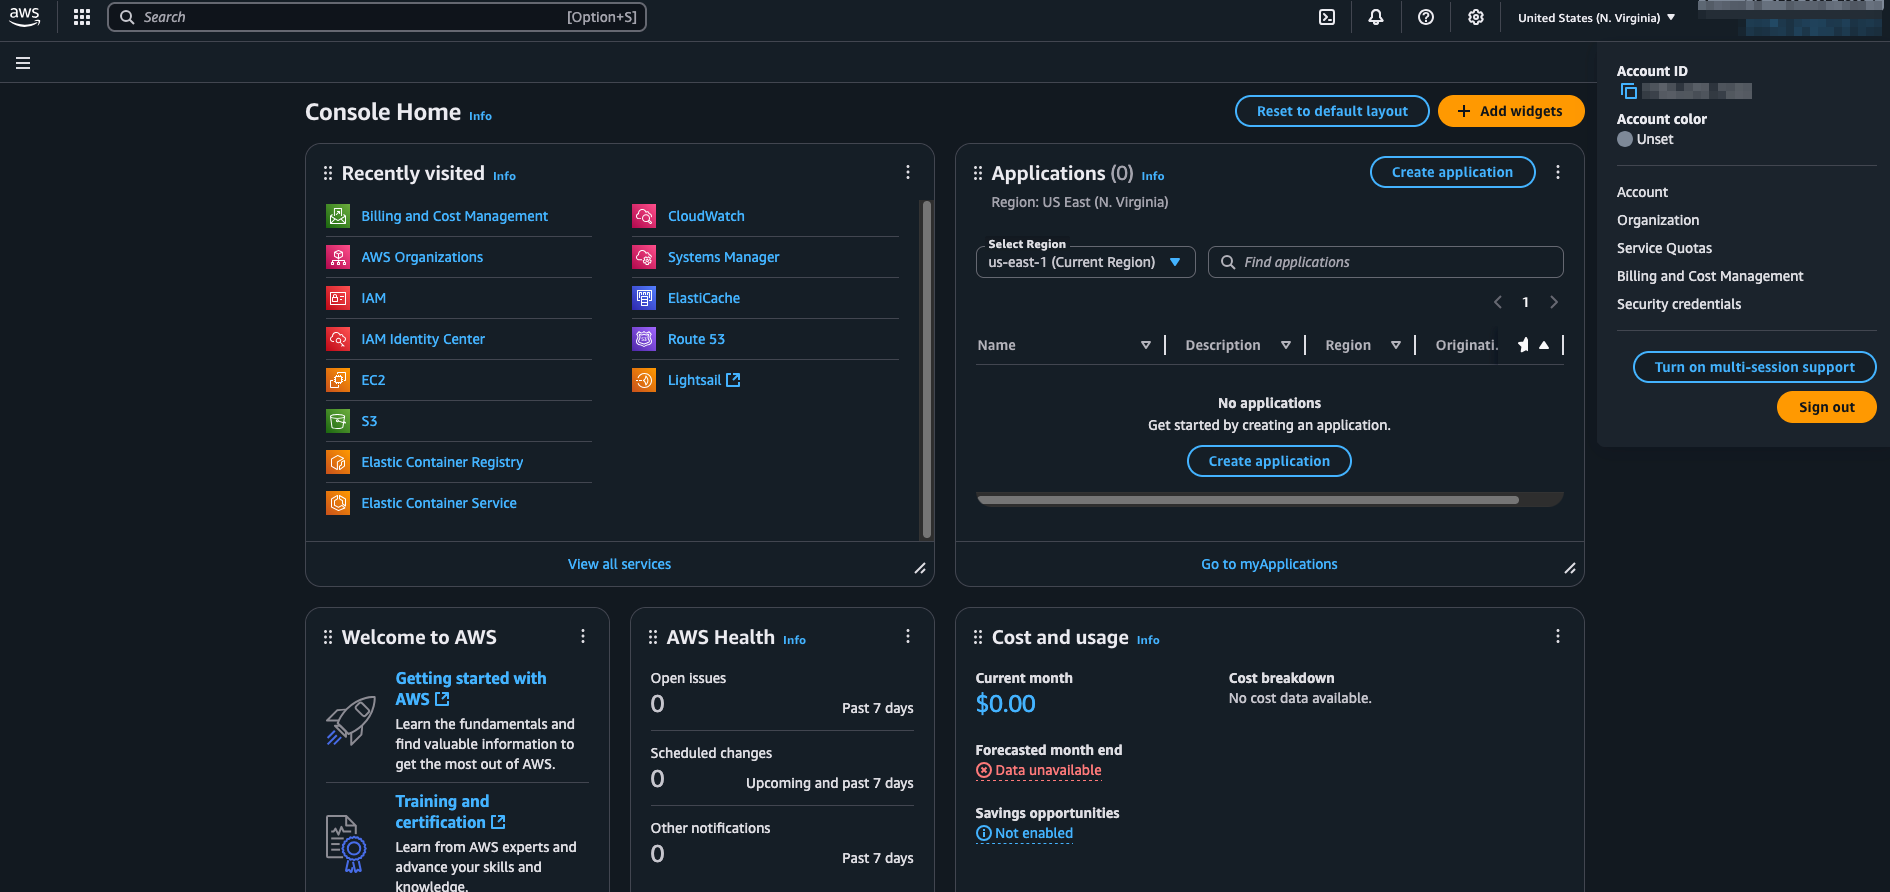
- After correct configuration you should see the following page
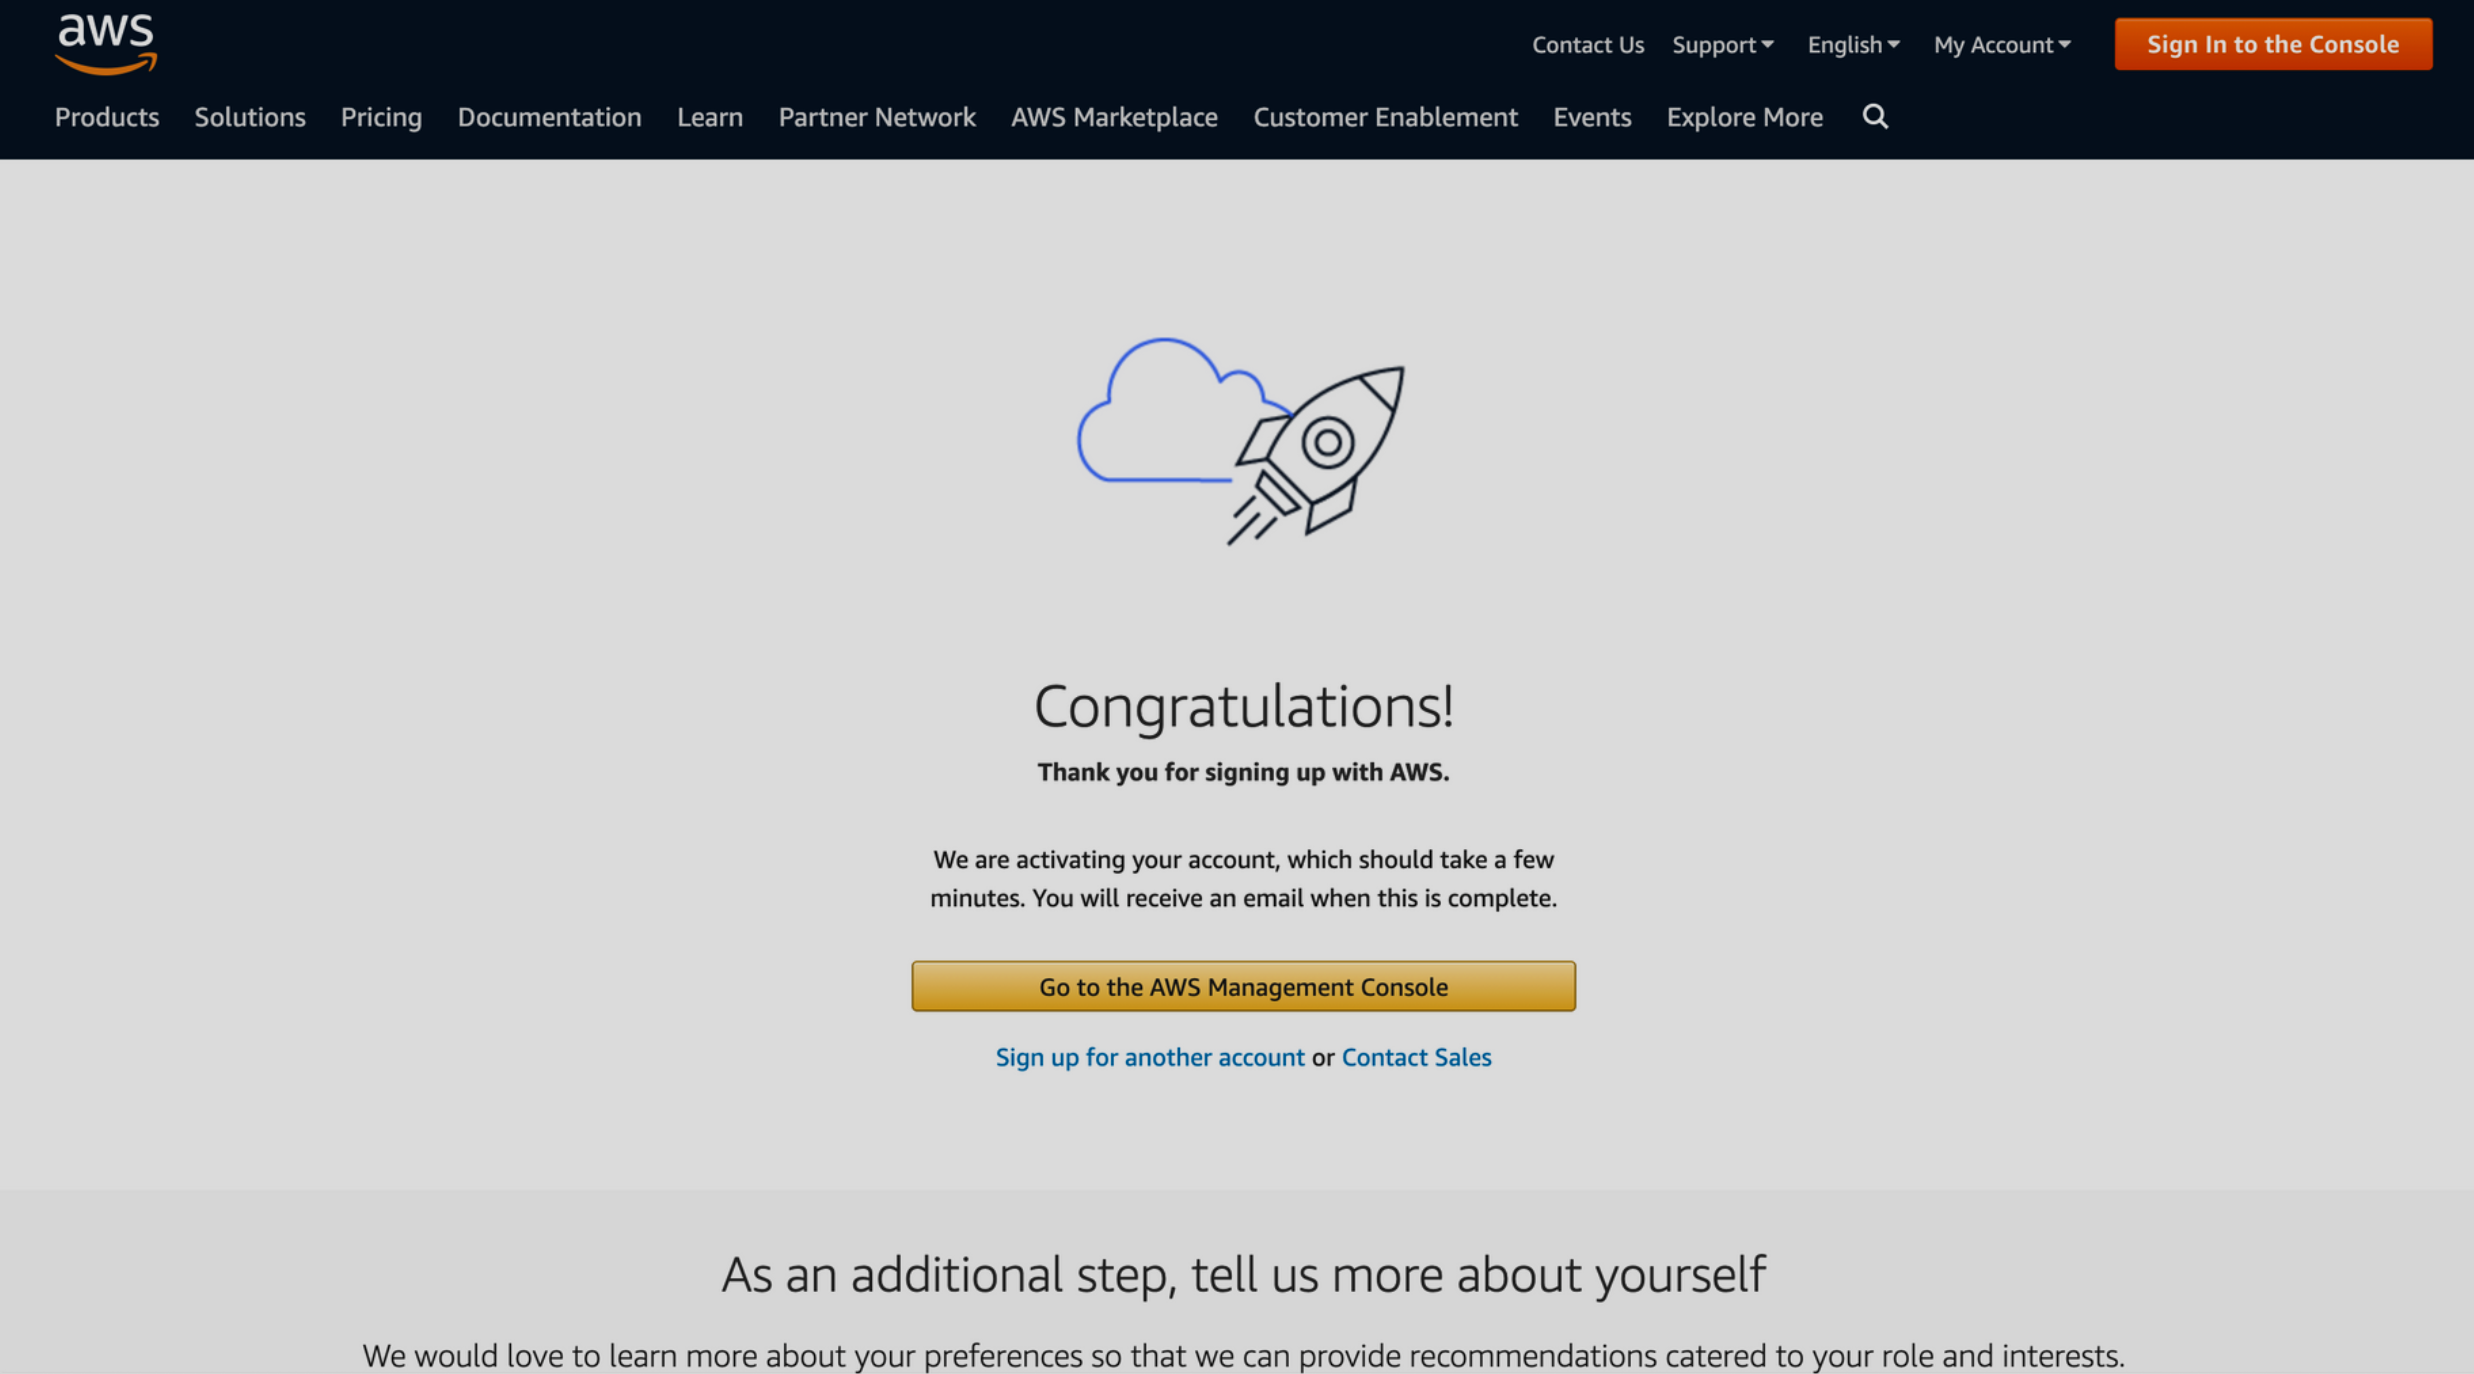
- Sign in with your Root user credentials
Secure your AWS Account
Multi-Factor authentication
We strongly recommend that you activate MFA for your root user. MFA dramatically lowers the risk of someone accessing your account without your authorization.
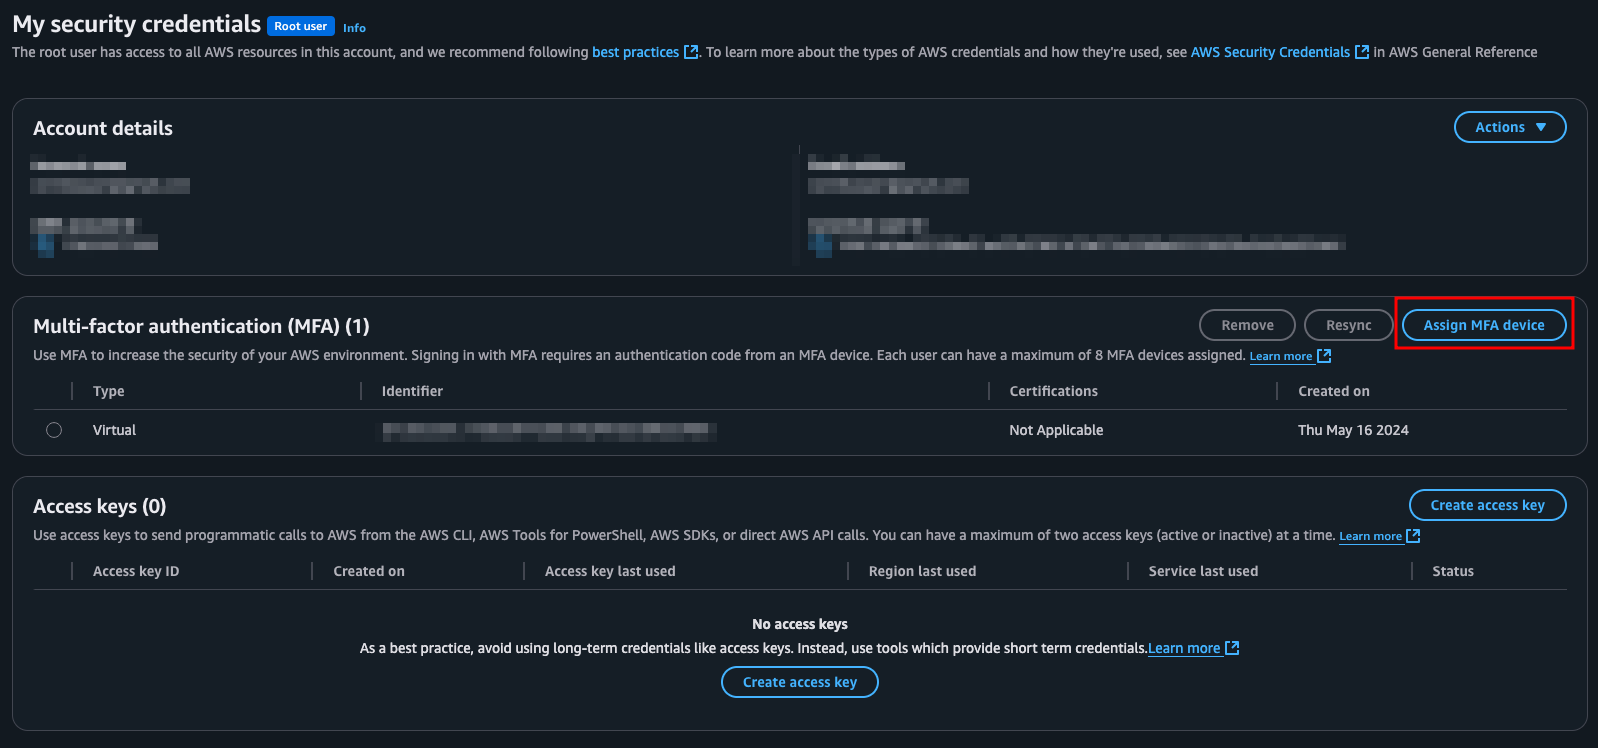
- Click to open the drop down menu and click "Security Credentials"
- Click the "Assign MFA device" button
-
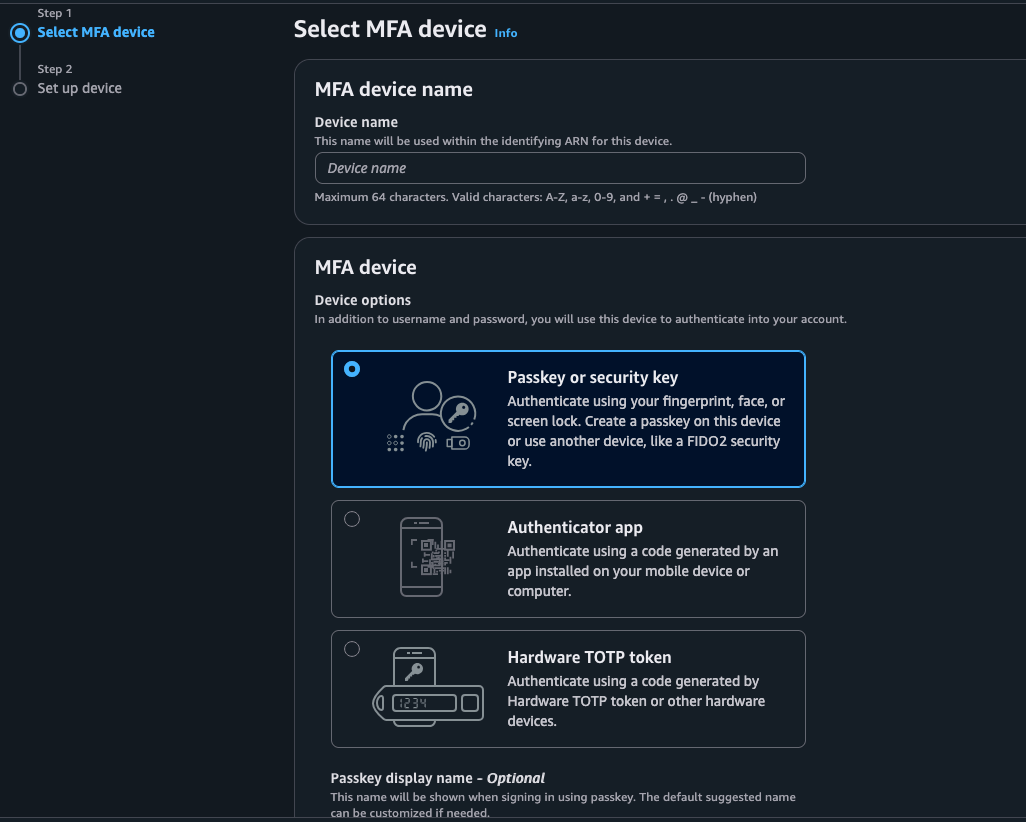
Choose the type of MFA device you want to use. Options include a security key, authenticator app or hardware TOPT token.
- Virtual MFA: If you choose a virtual MFA device, you'll need to install an authenticator app on your smartphone (e.g., Google Authenticator, Authy). Then, follow the on-screen instructions to scan the QR code or manually enter the provided key to set up the MFA
- Hardware TOPT token: If you choose a hardware MFA device for example YubiKey, follow the instructions provided with the device to set it up
- Security key: If you choose a Passkey or security key on Set up device page, set up your passkey. Create a passkey with biometric data like your face or fingerprint, with a device pin, or by inserting the FIDO security key into your computer's USB port and tapping it.
Billing
By default, only AWS root user can access billing information and root user can enable IAM users to access to billing information.
- Click to open the drop down menu and click "Billing Dashboard"
- Scroll down and you will get “IAM User and Role Access to Billing Information”
- Click on edit link then you will get “Activate IAM Access” checkbox
- Mark this “Activate IAM Access” checkbox and click on below update button

Create AWS User
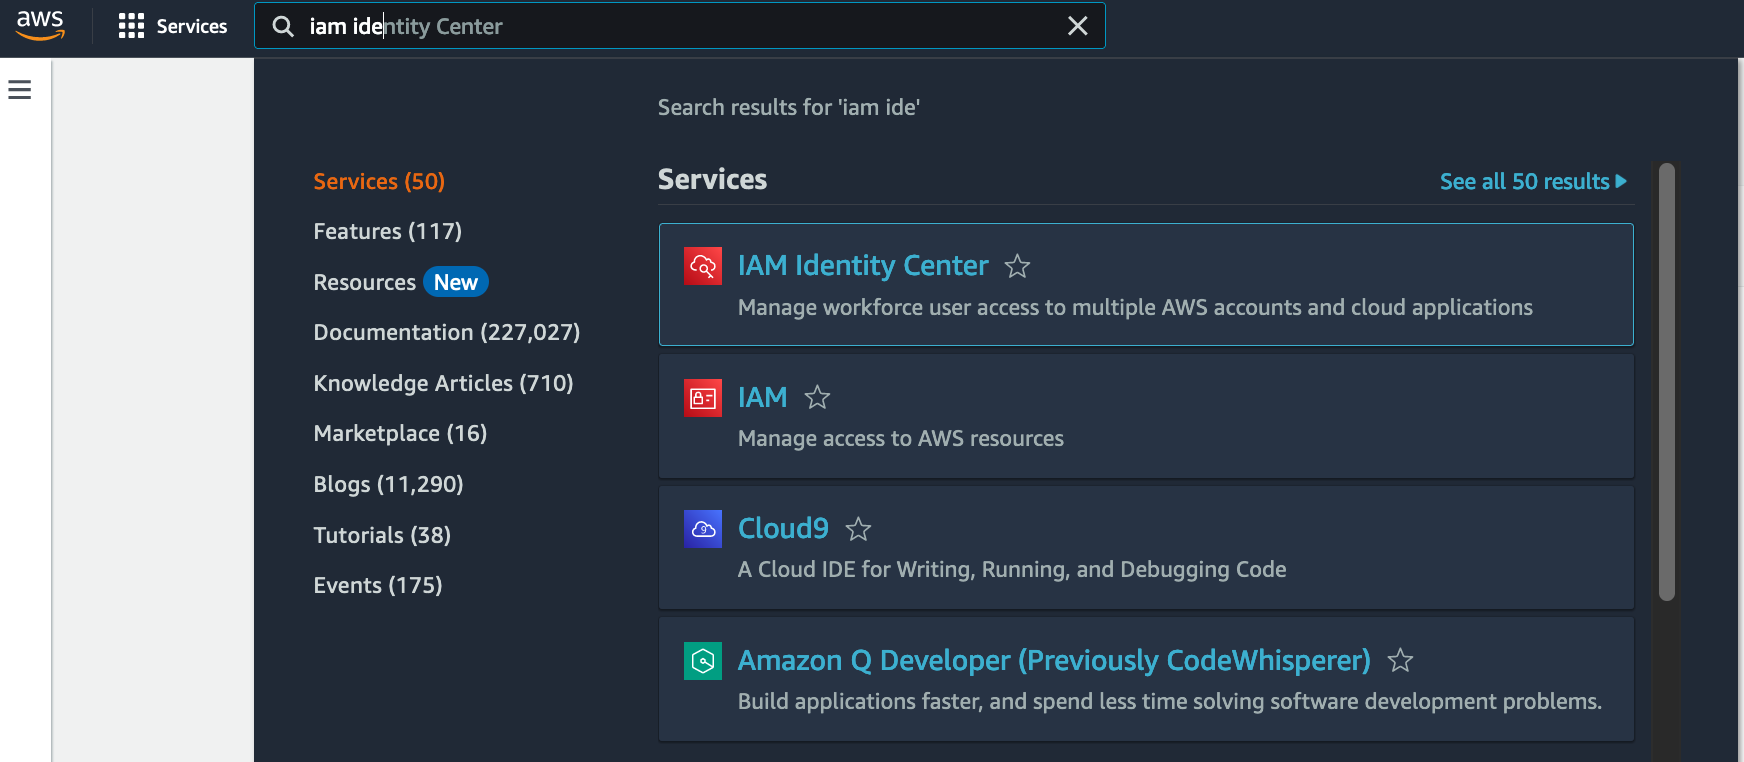
- Open the IAM Identity Center console
IAM Identity Center
- In the top right region menu, select the region that is closest to your location
- Please make sure that you enter the "IAM Identity Center" not the "IAM" service
- Open Permission sets and choose Create permission set
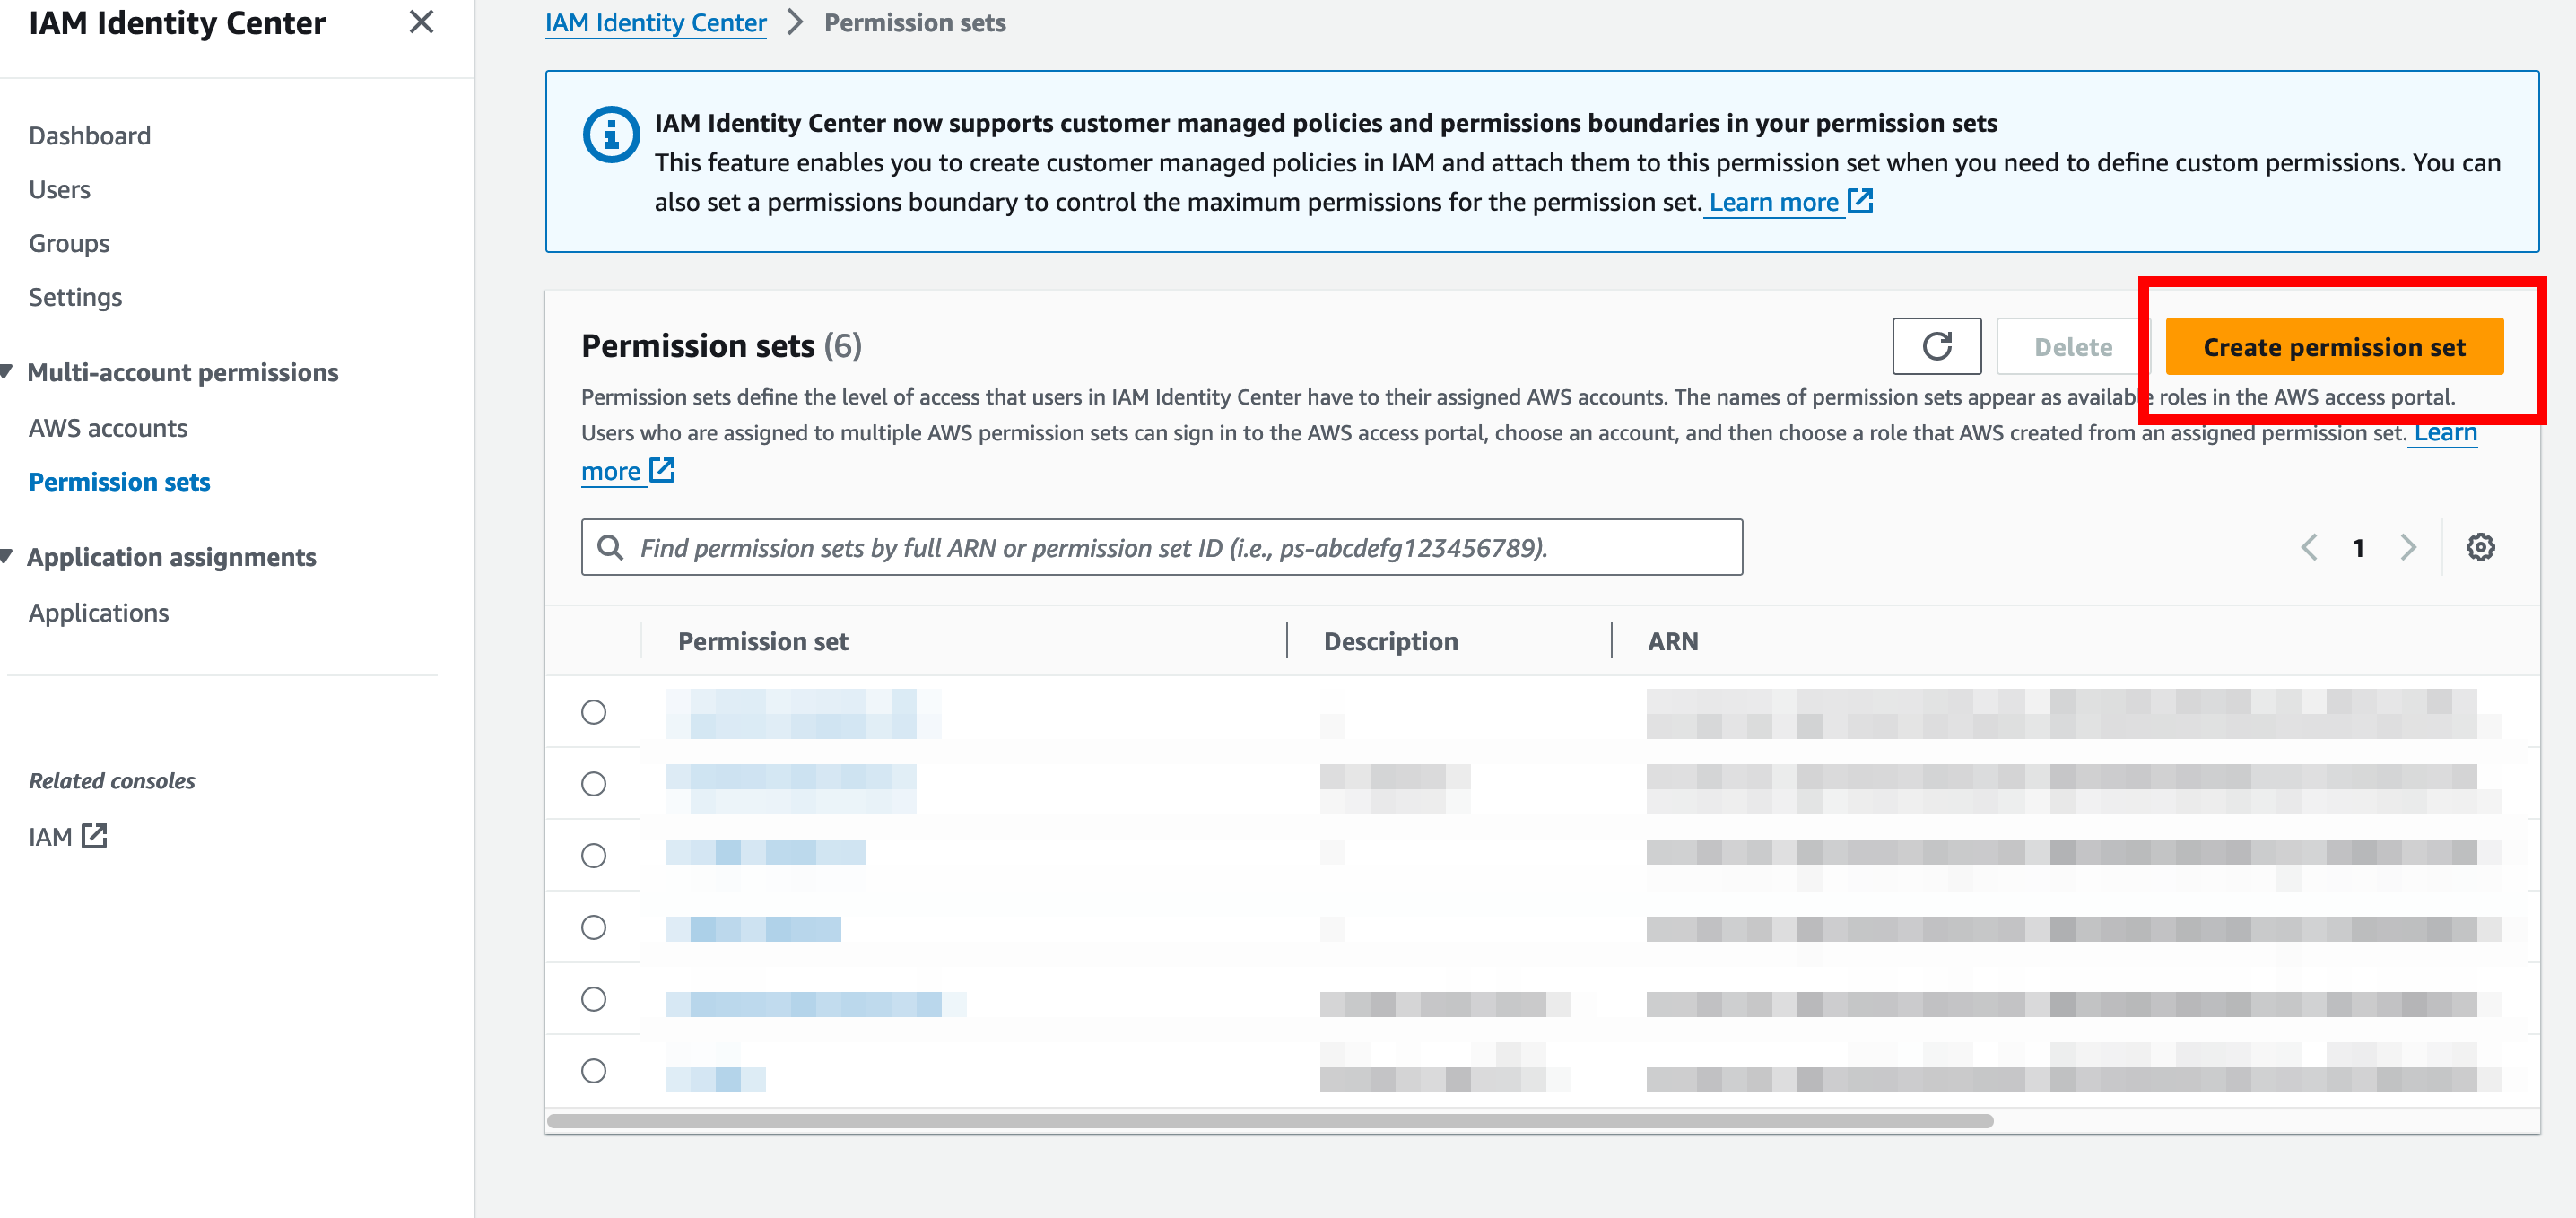
- Select Predefined permission set and choose AdministratorAccess then proceed through wizard until permission set is created

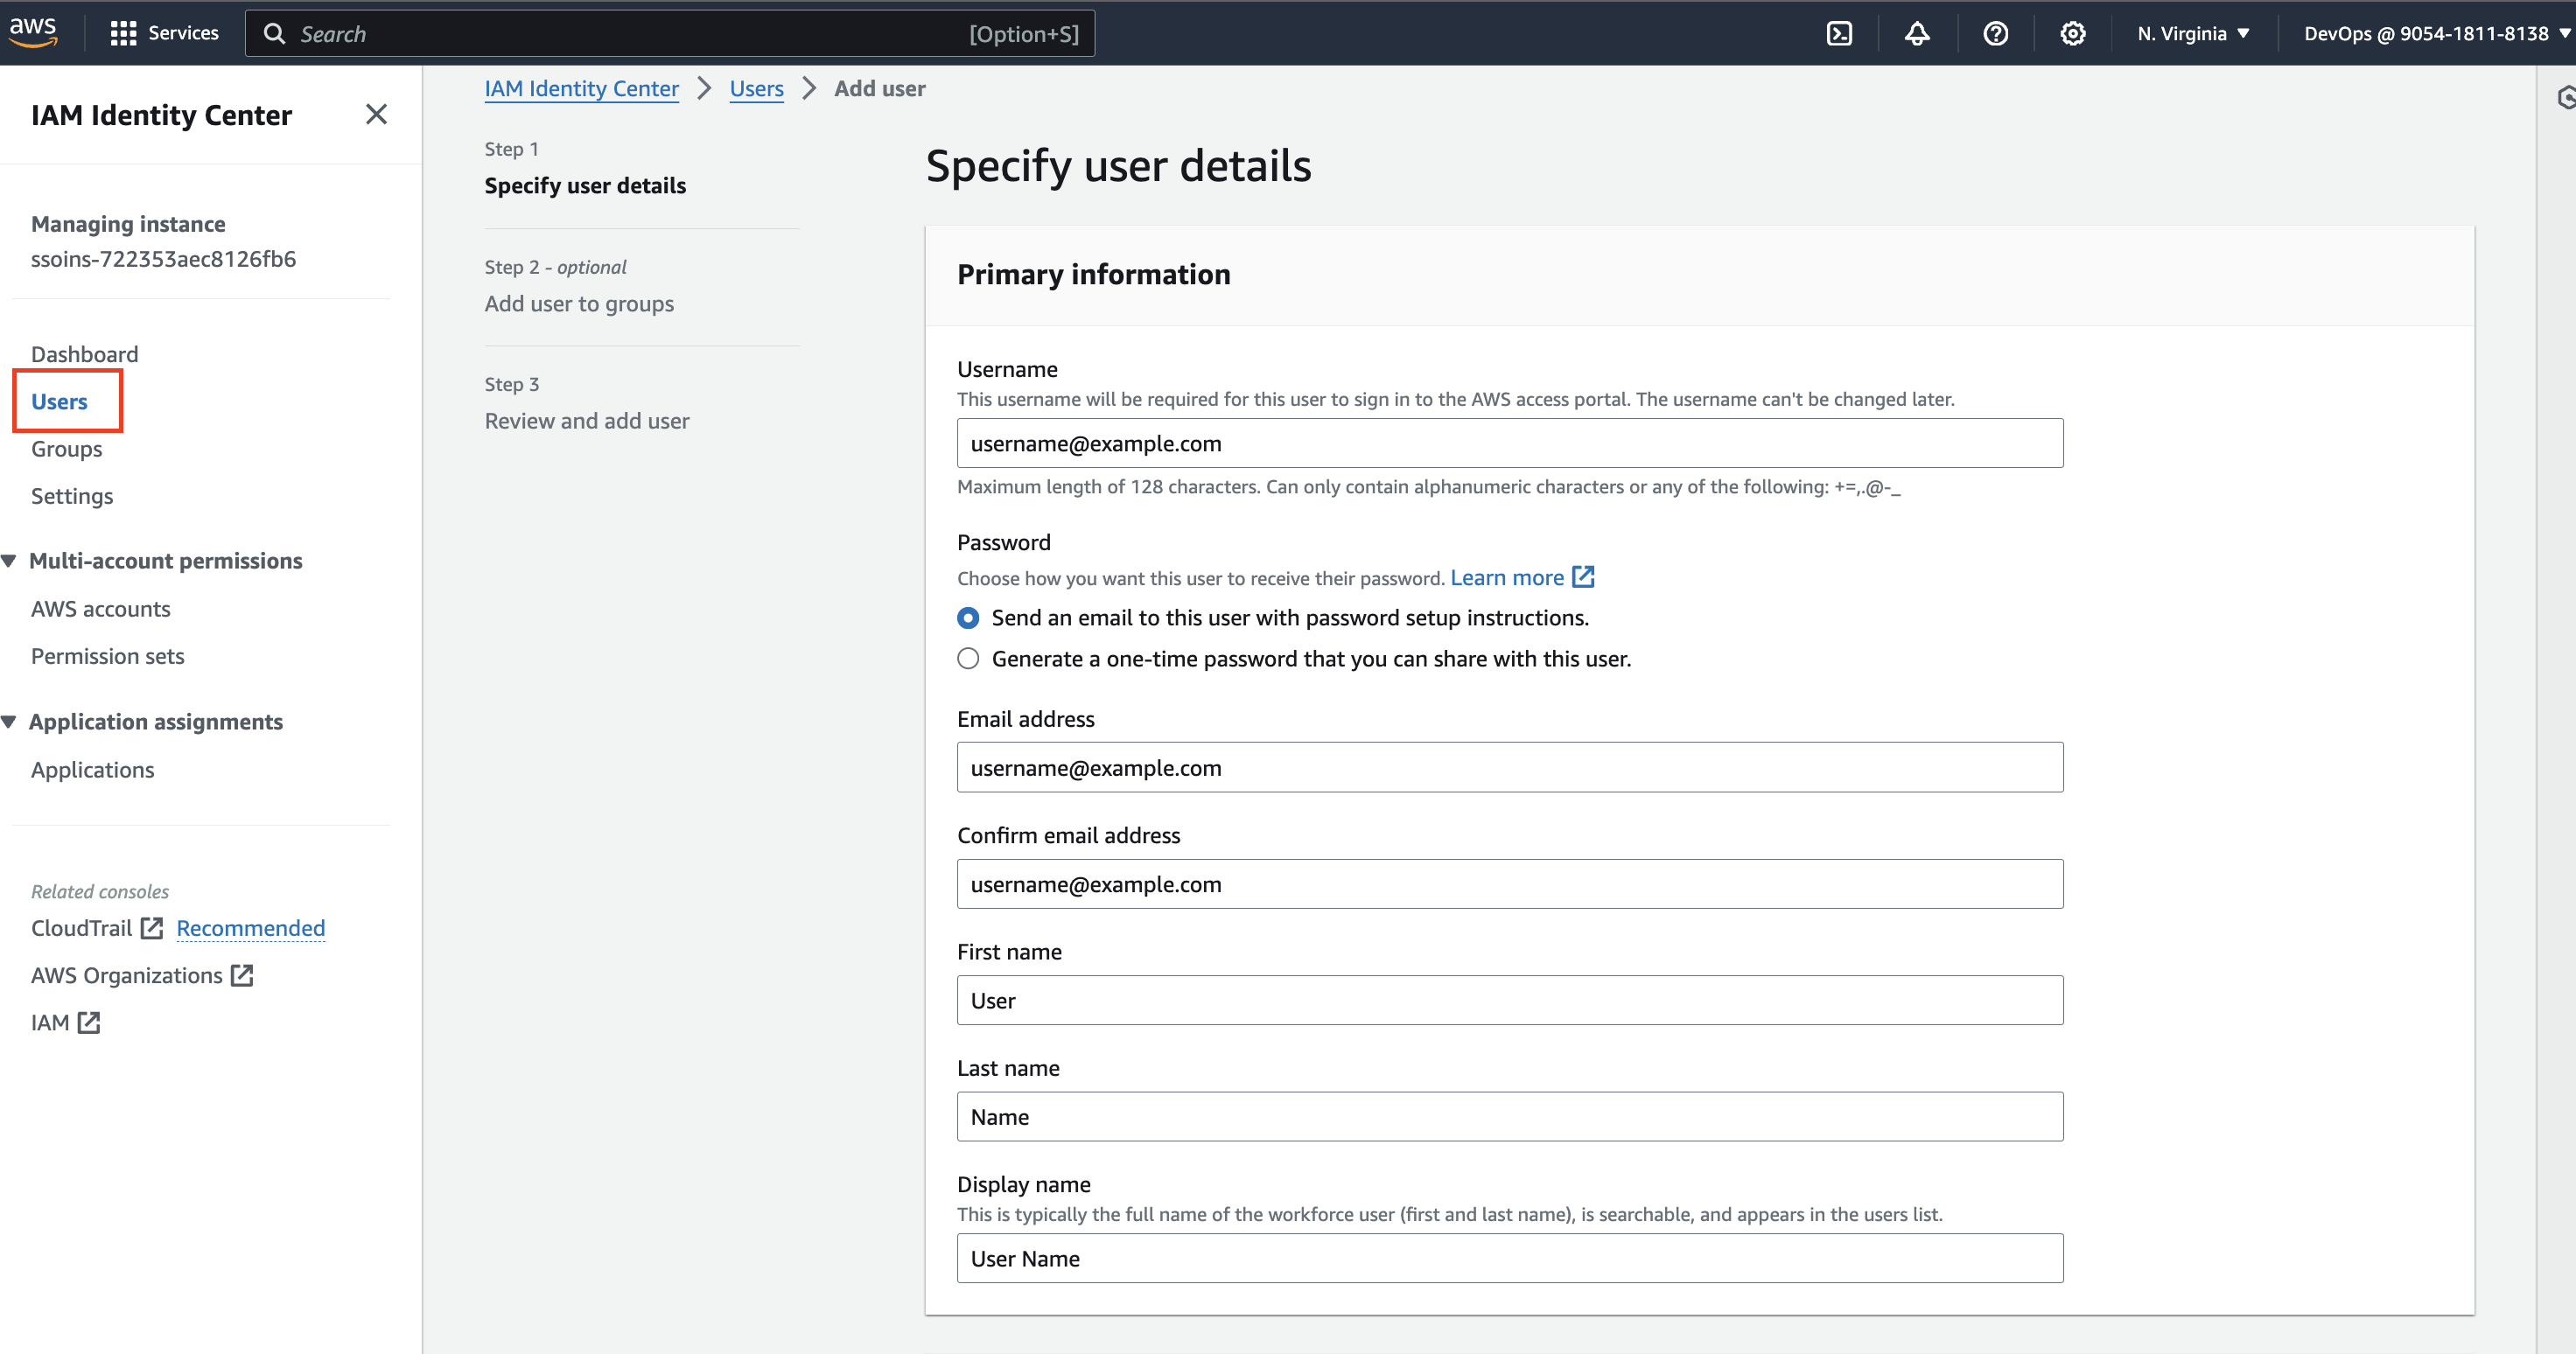
- Open the Users menu and choose Add user, provide the following required information, then choose Next
Email address
- Enter email address provided by us
-
Skip step of adding user to groups, and choose Next
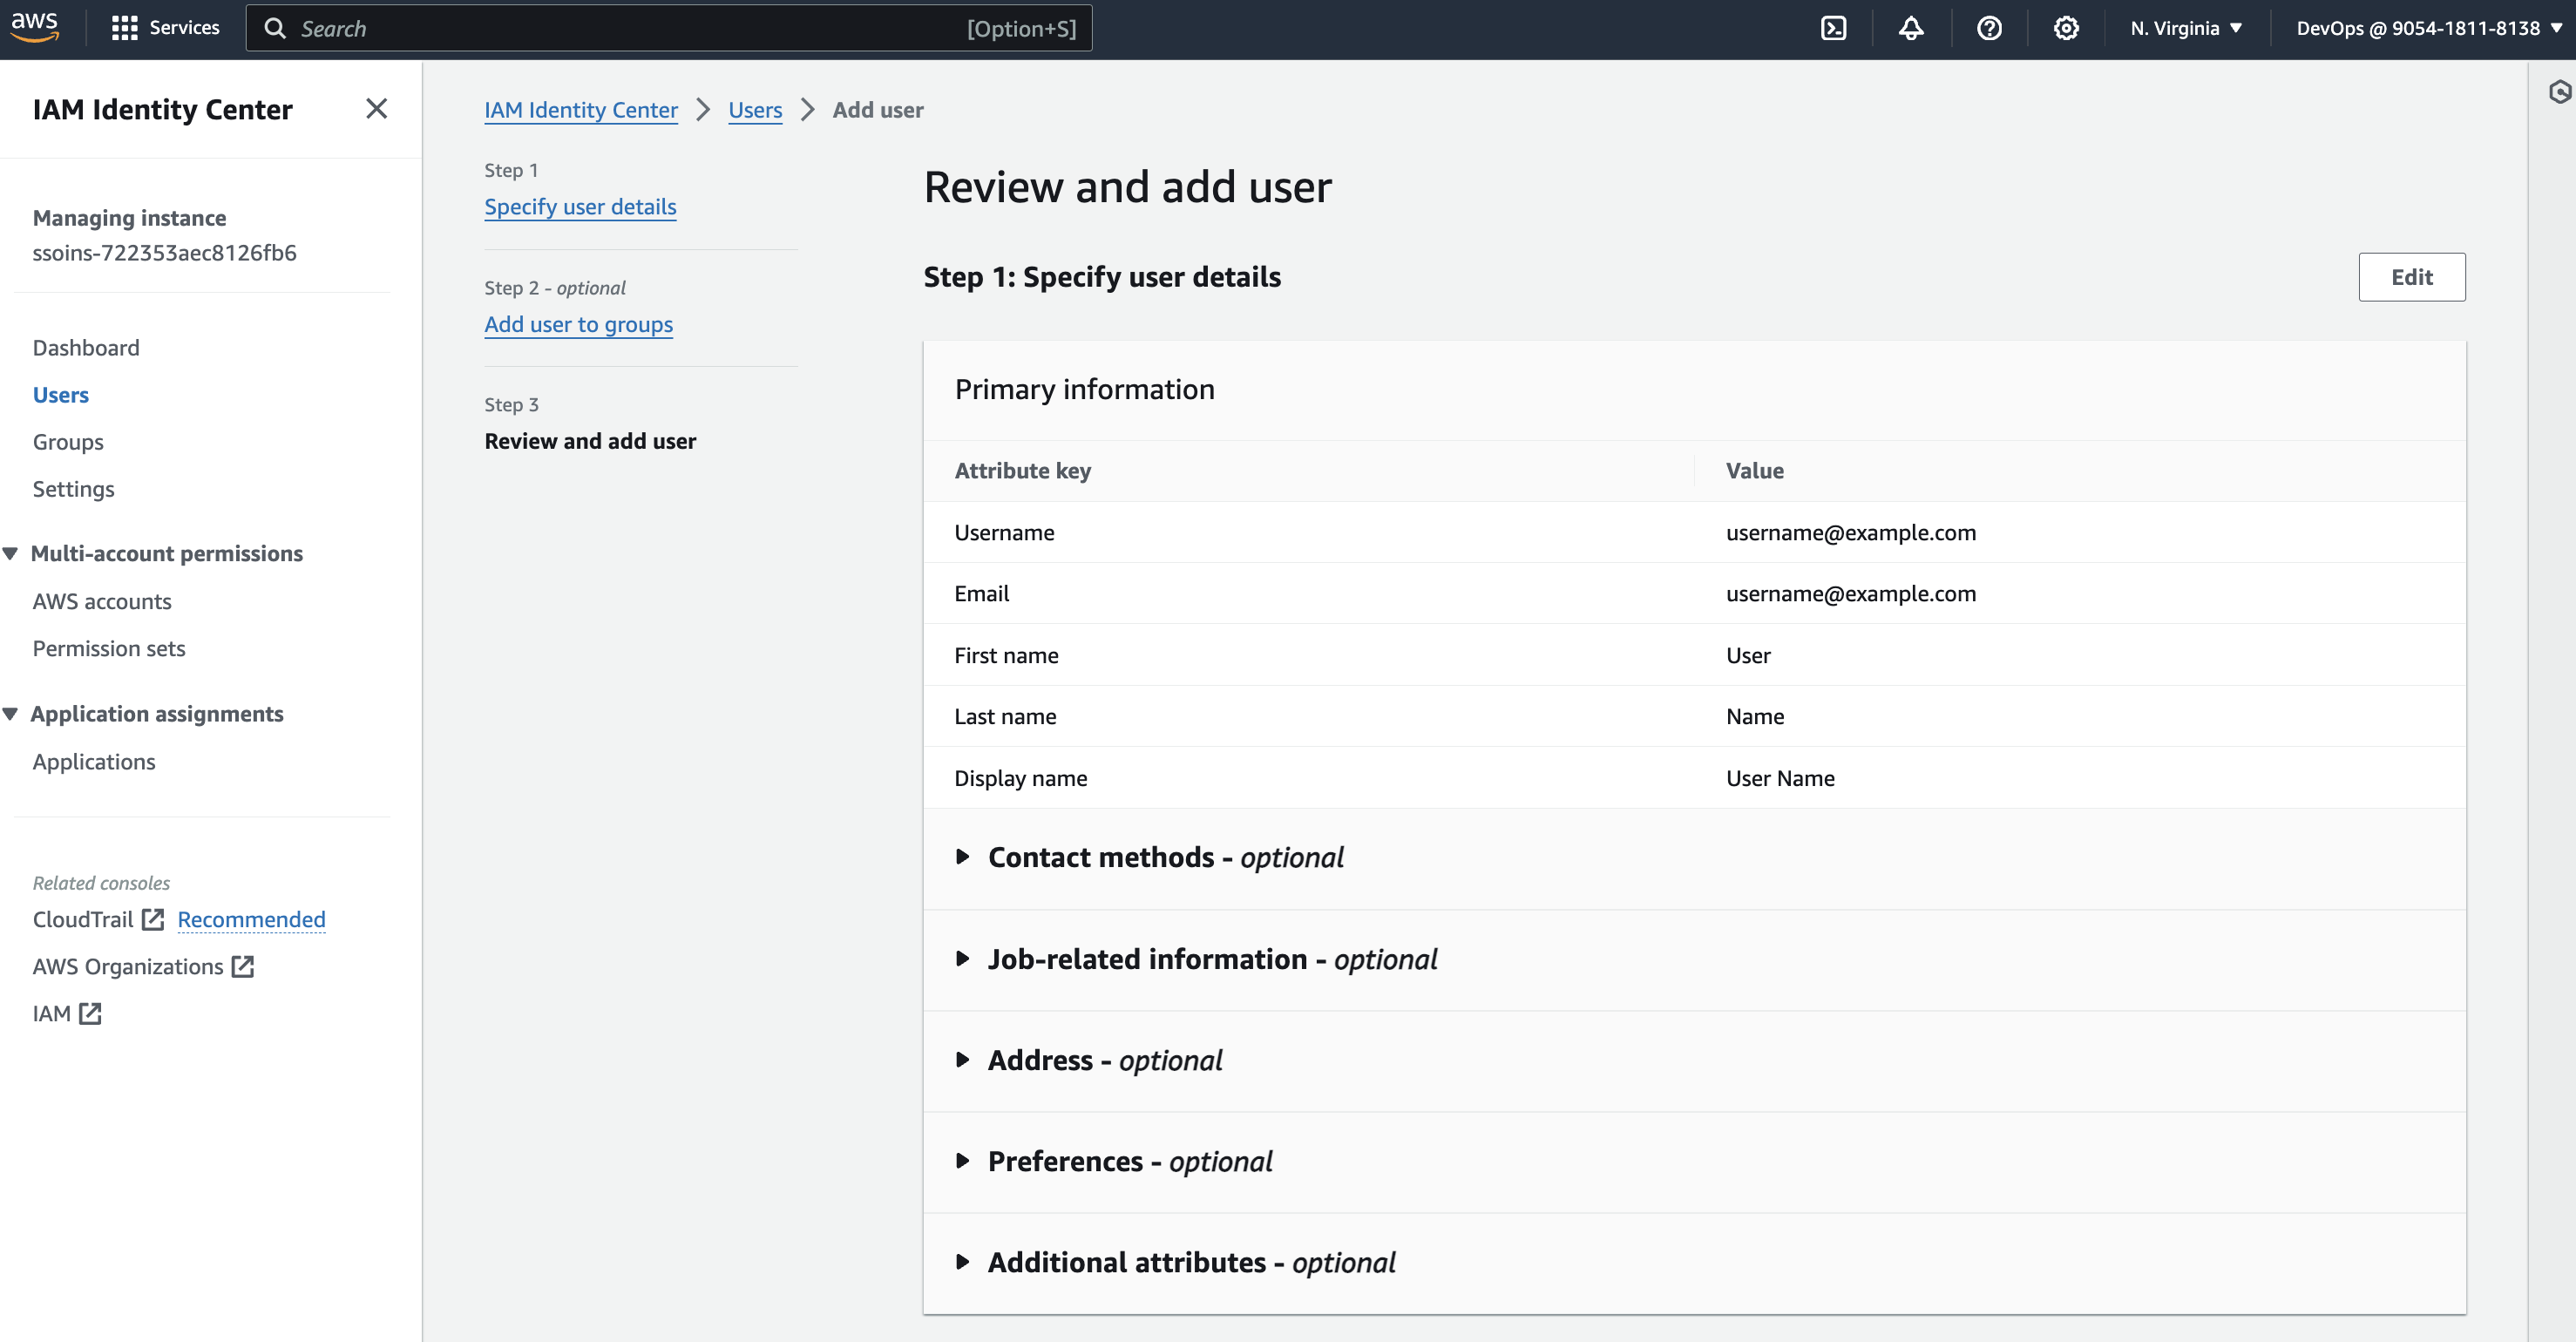
-
Review the information that you specified, and choose Add user
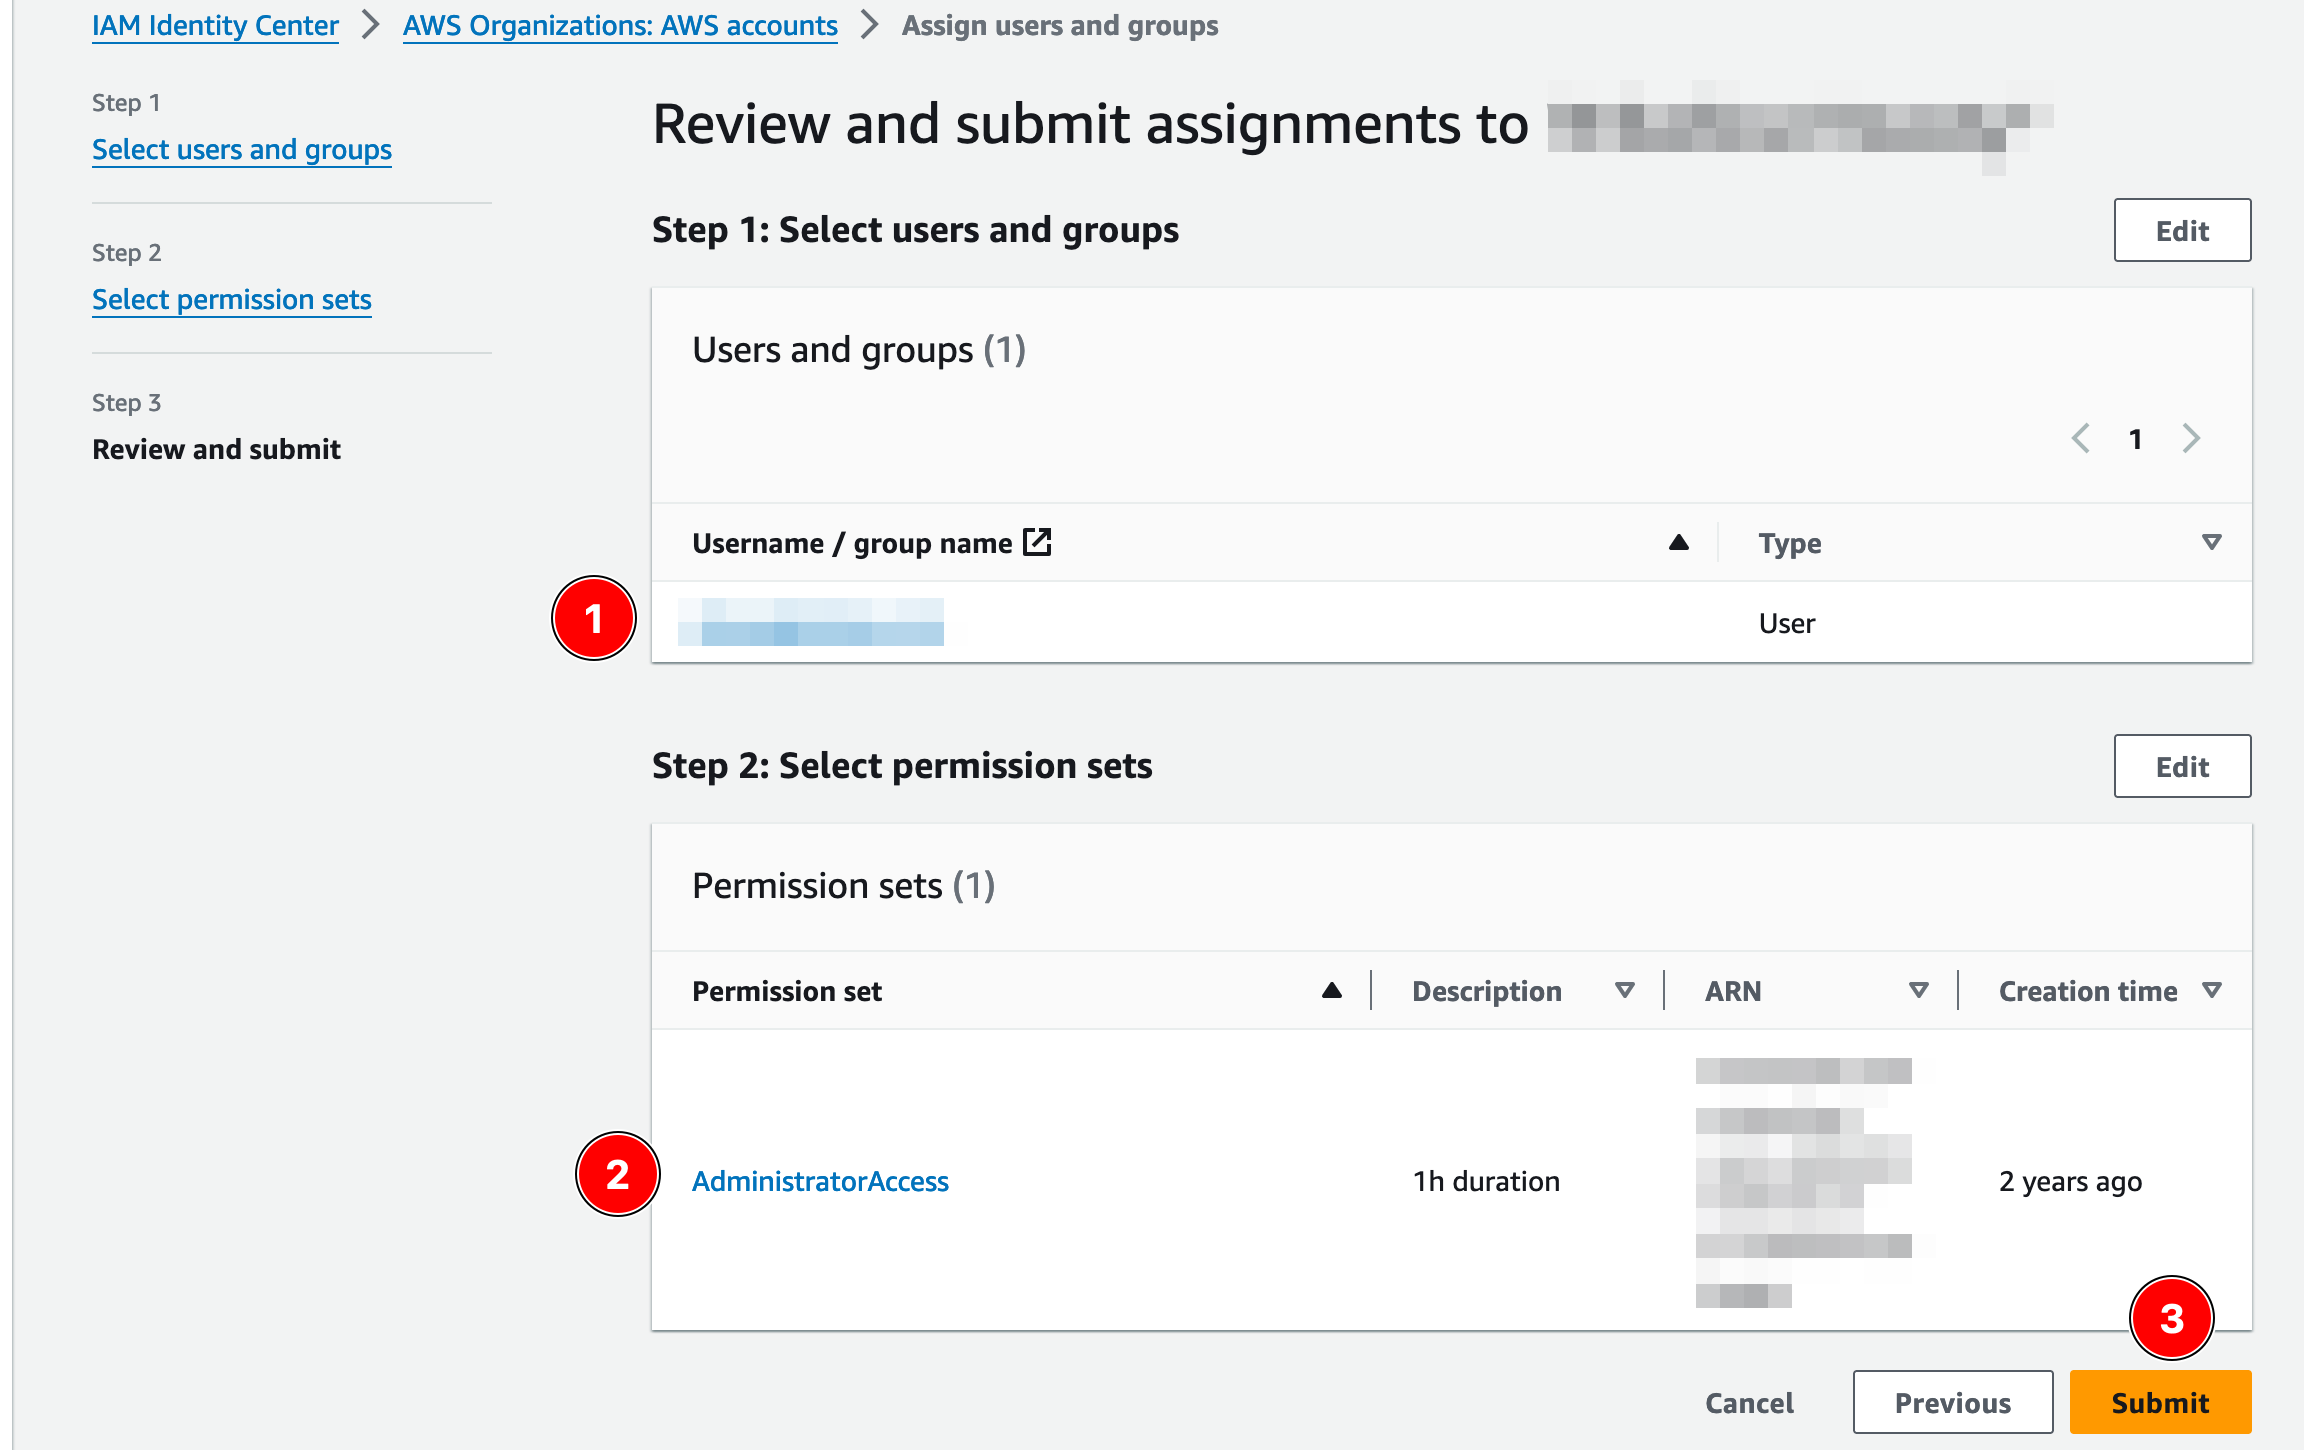
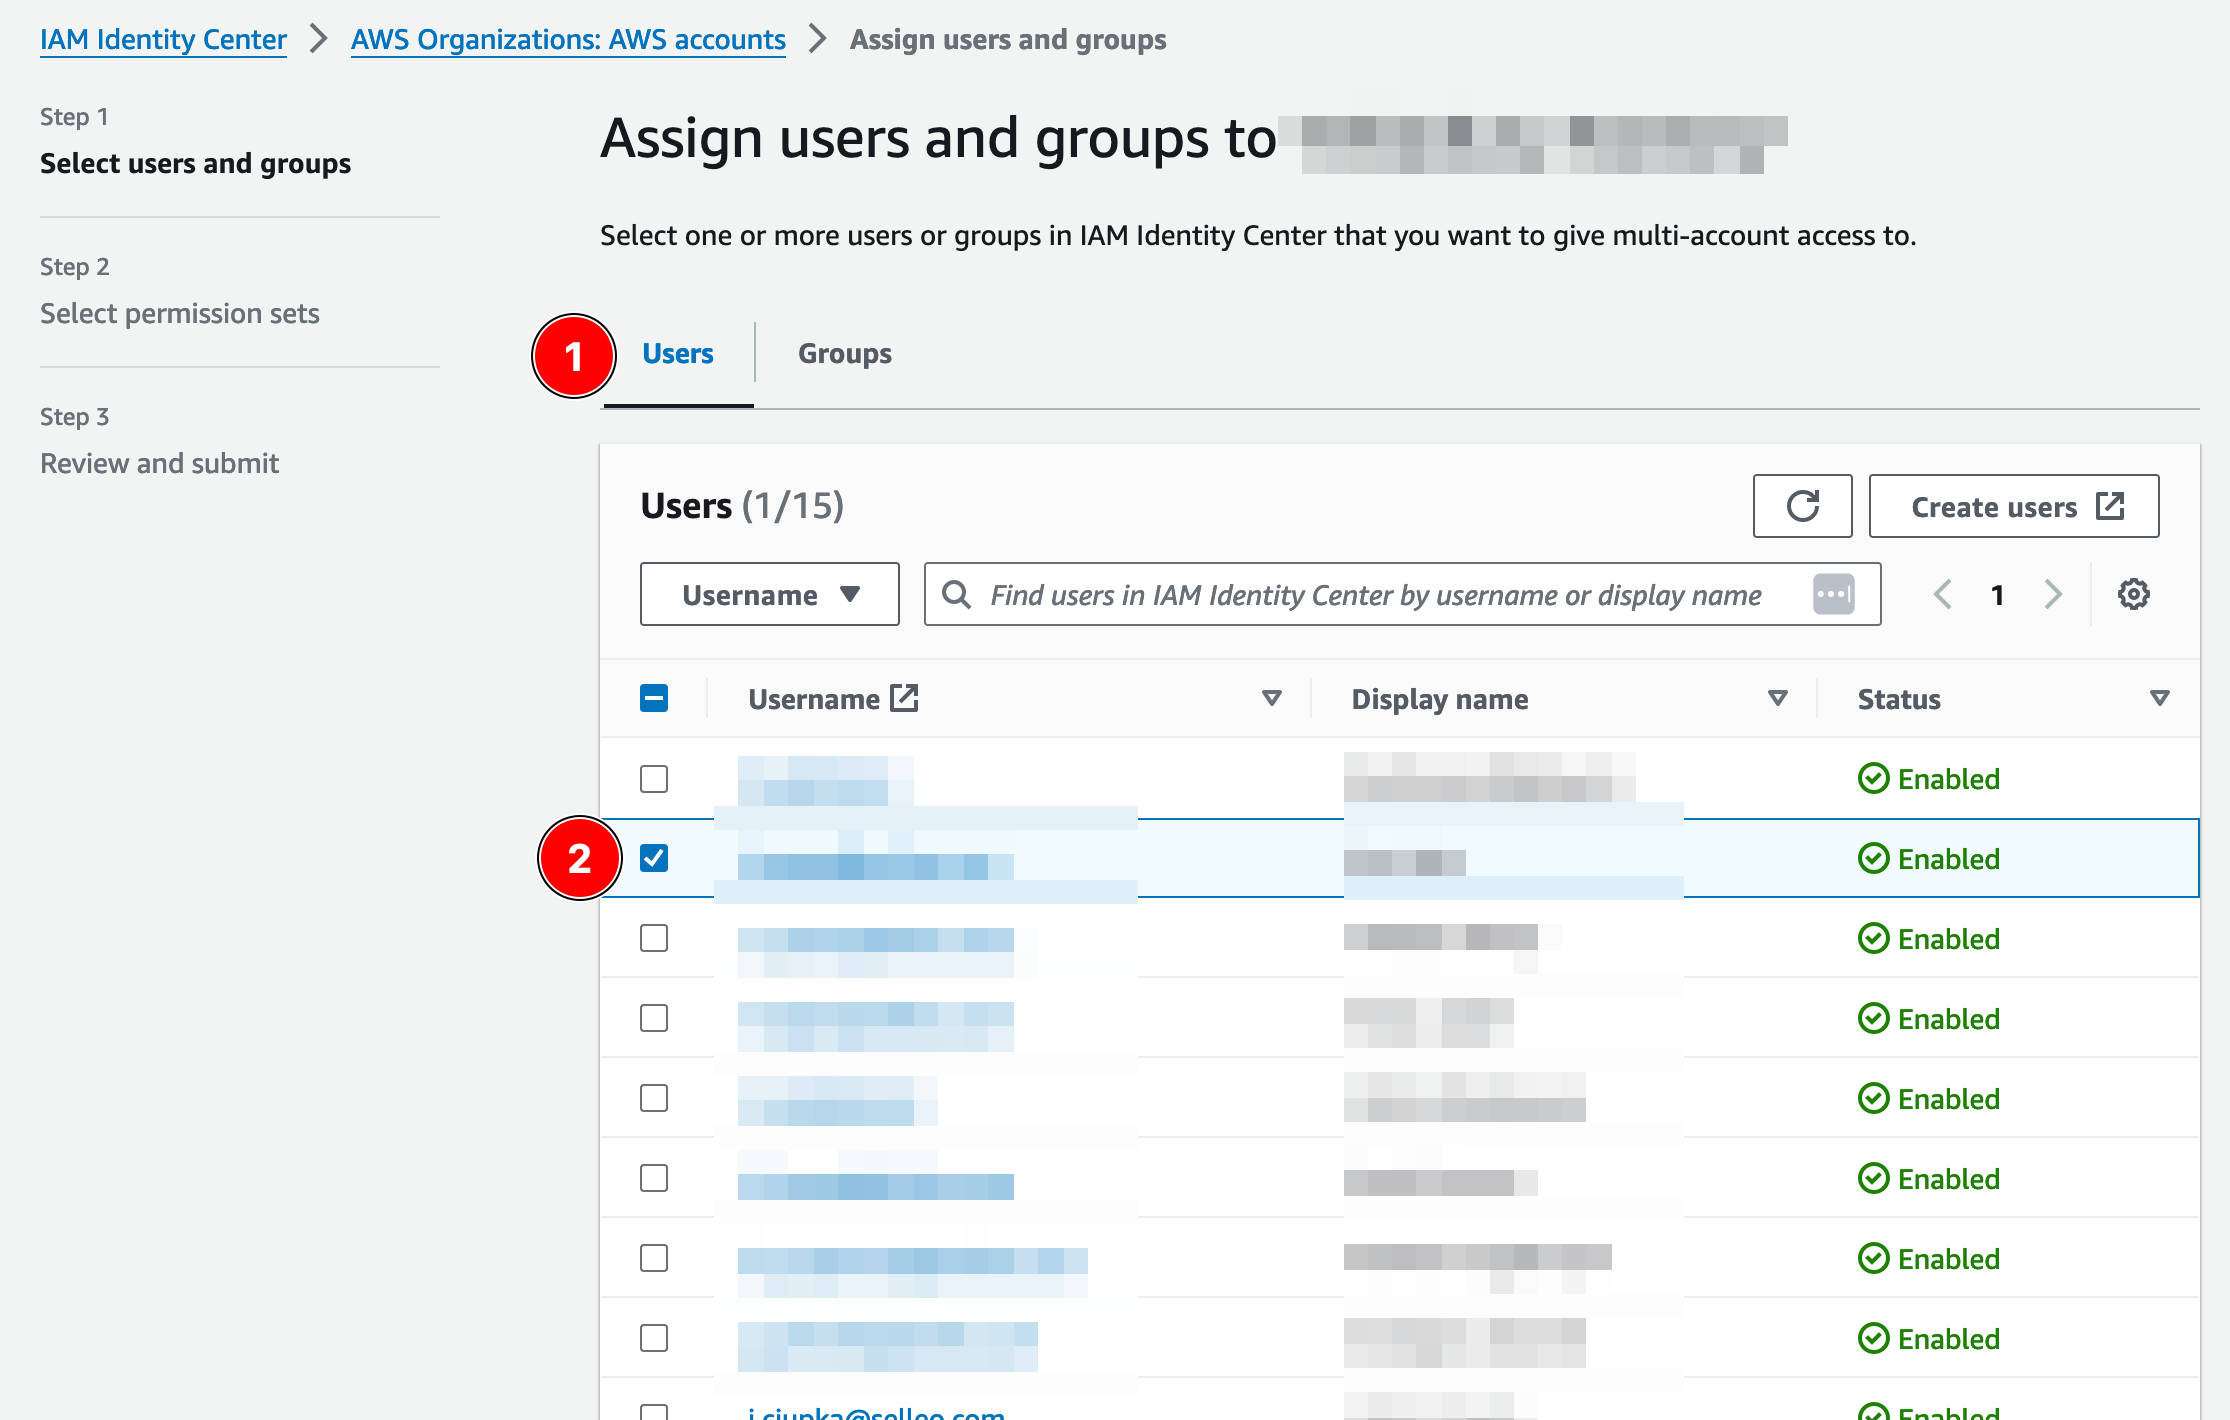
- Assign permission set to management account

- Assign the user that was created
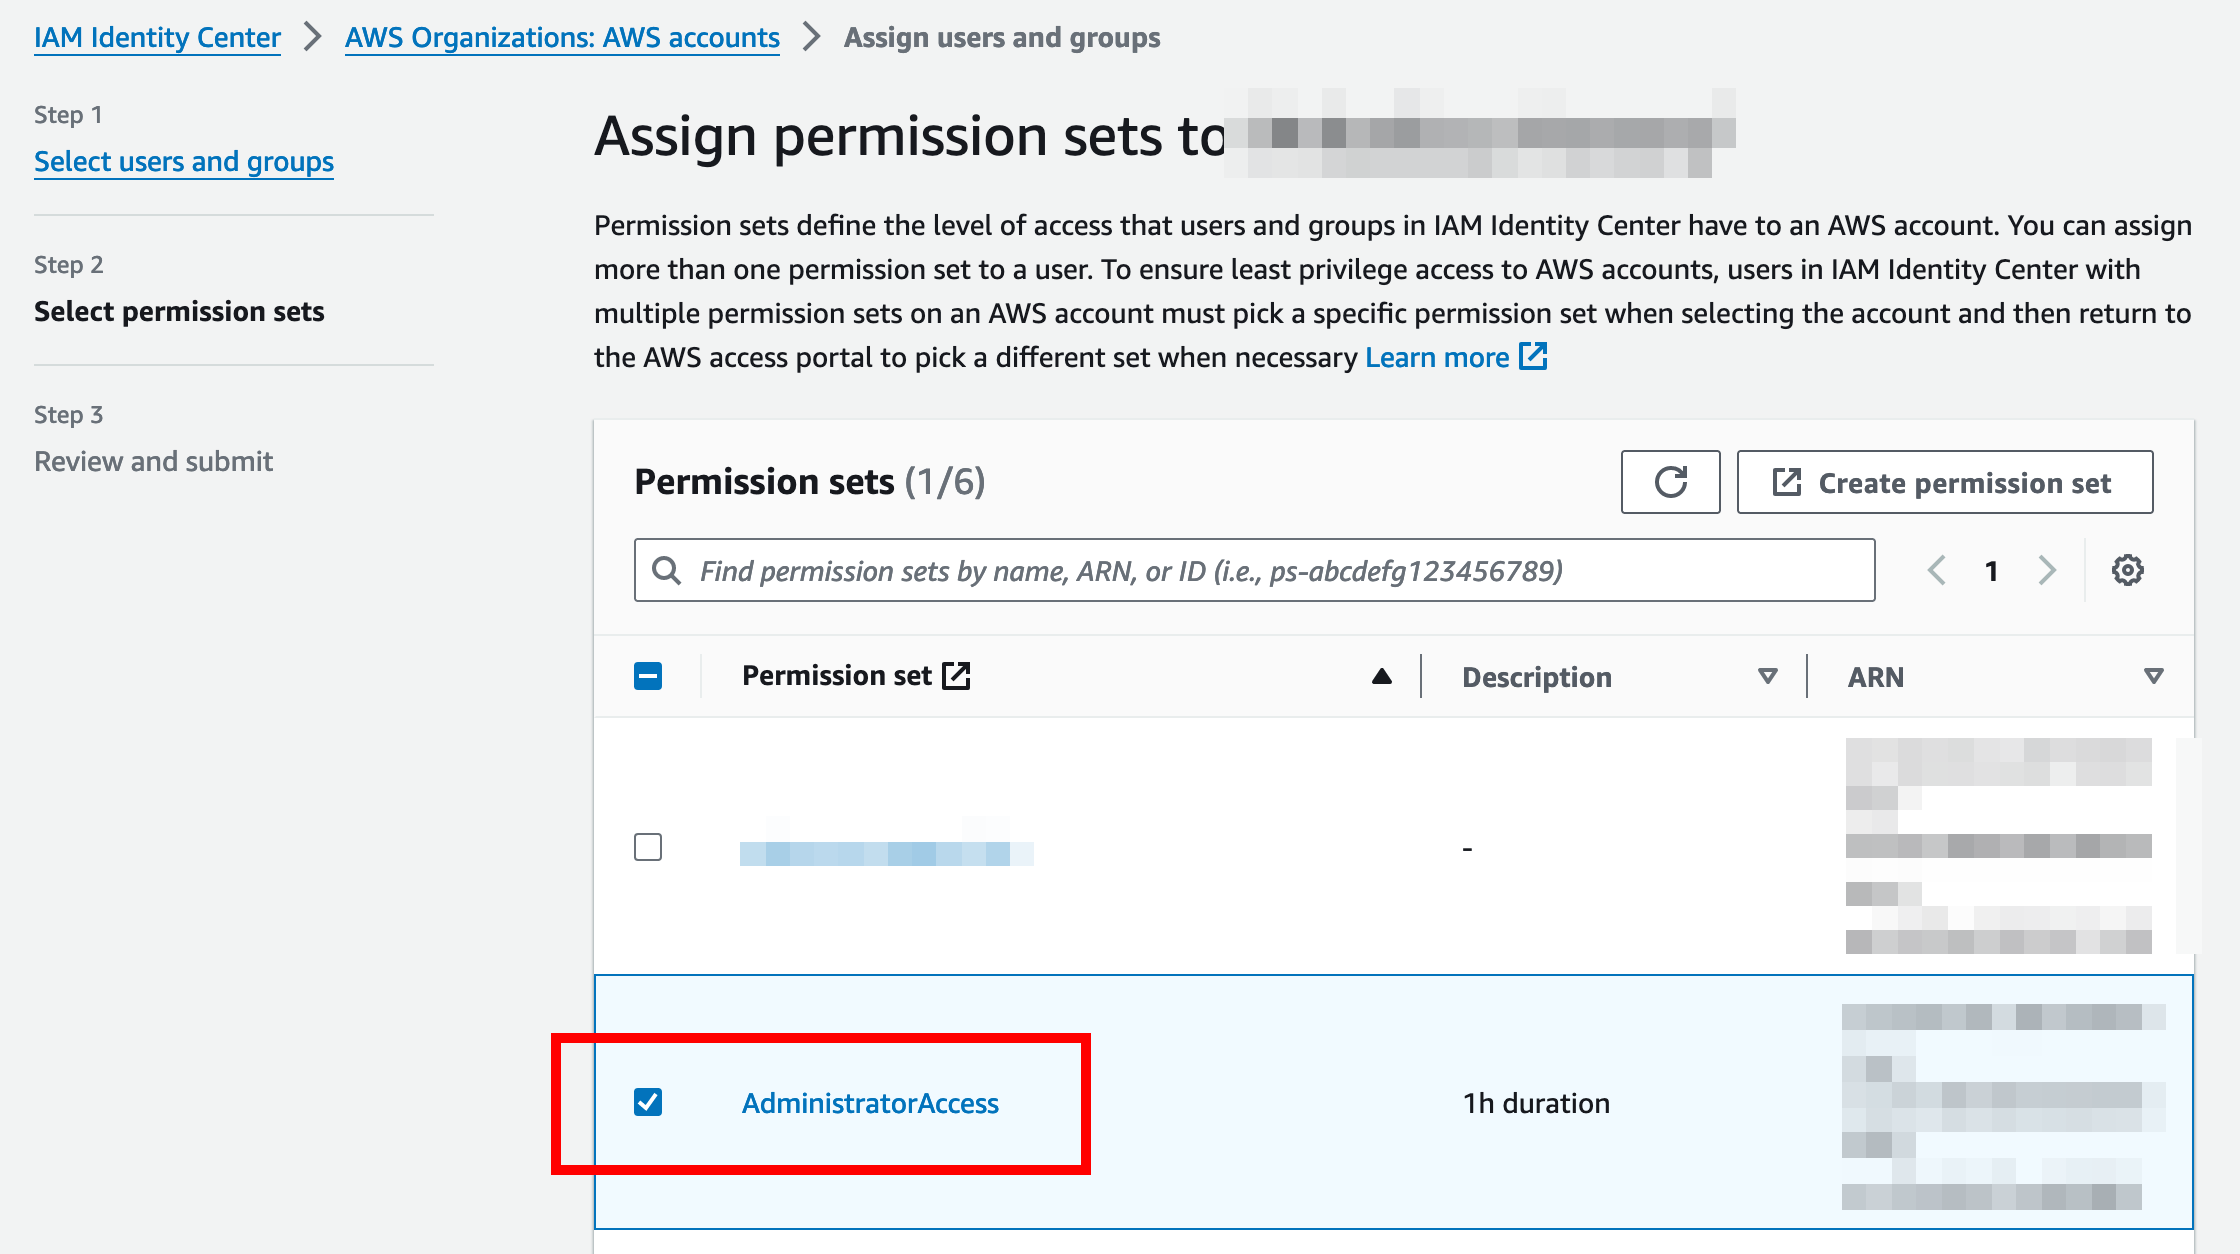
- Assign permission set AdministratorAccess
- Review user information, and choose Submit